Introduction
Whether you’re installing epoxy, commercial floor preparation vinyl, polished concrete, or tile in a commercial building, the success of your flooring project heavily depends on one critical step — floor preparation. Without it, even the most expensive flooring systems can fail prematurely. From warehouses and retail stores to industrial facilities and offices, a strong, clean, and level subfloor is the
What is Commercial Floor Preparation?
Commercial floor preparation is the process of cleaning, leveling, and repairing a floor surface before the final flooring is installed. It ensures that the surface is structurally sound, smooth, dry, and contaminant-free, ready to accept coatings or coverings such as epoxy, tile, vinyl, or polished concrete.
This process can involve:
- Cleaning to remove dust, oils, or adhesives
- Repairing cracks and holes
- Grinding or leveling uneven surfaces
- Applying primers or moisture barriers
The complexity depends on the existing floor conditions and the type of flooring to be installed.
Why is Proper Floor Preparation Important?
Skipping or poorly executing floor prep can lead to serious consequences:
- Peeling or bubbling of coatings
- Trip hazards due to uneven surfaces
- Water damage due to moisture intrusion
- Delamination or weak adhesion
- Increased maintenance costs
Proper preparation enhances the durability, safety, and aesthetic appeal of the finished floor. It also ensures that warranties remain valid and reduces the risk of future repairs.
Epoxy Floor Coating Preparation
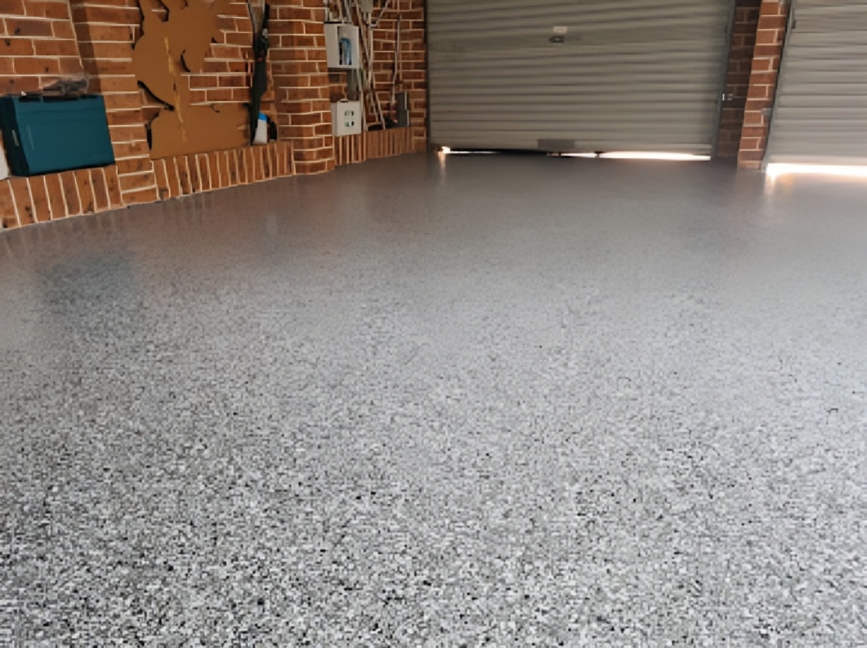
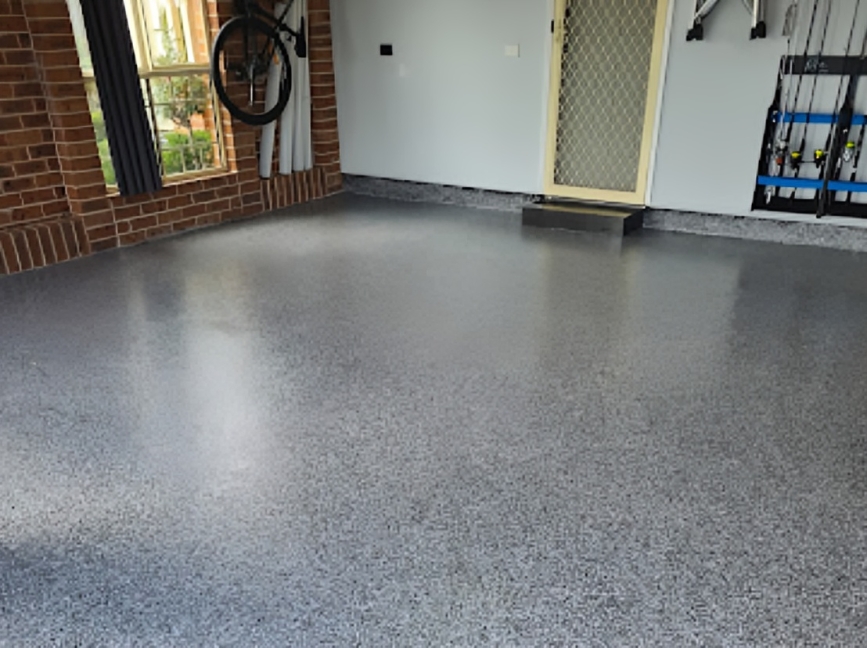
Epoxy floors are popular in commercial and industrial spaces due to their durability and chemical resistance. However, epoxy coatings demand highly precise surface prep to perform effectively.
Key epoxy preparation steps include:
- Surface Assessment – Checking for moisture, oil stains, or structural issues.
- Mechanical Surface Preparation – Grinding or shot blasting to open the concrete pores.
- Moisture Testing – Using calcium chloride or RH tests to ensure levels are safe.
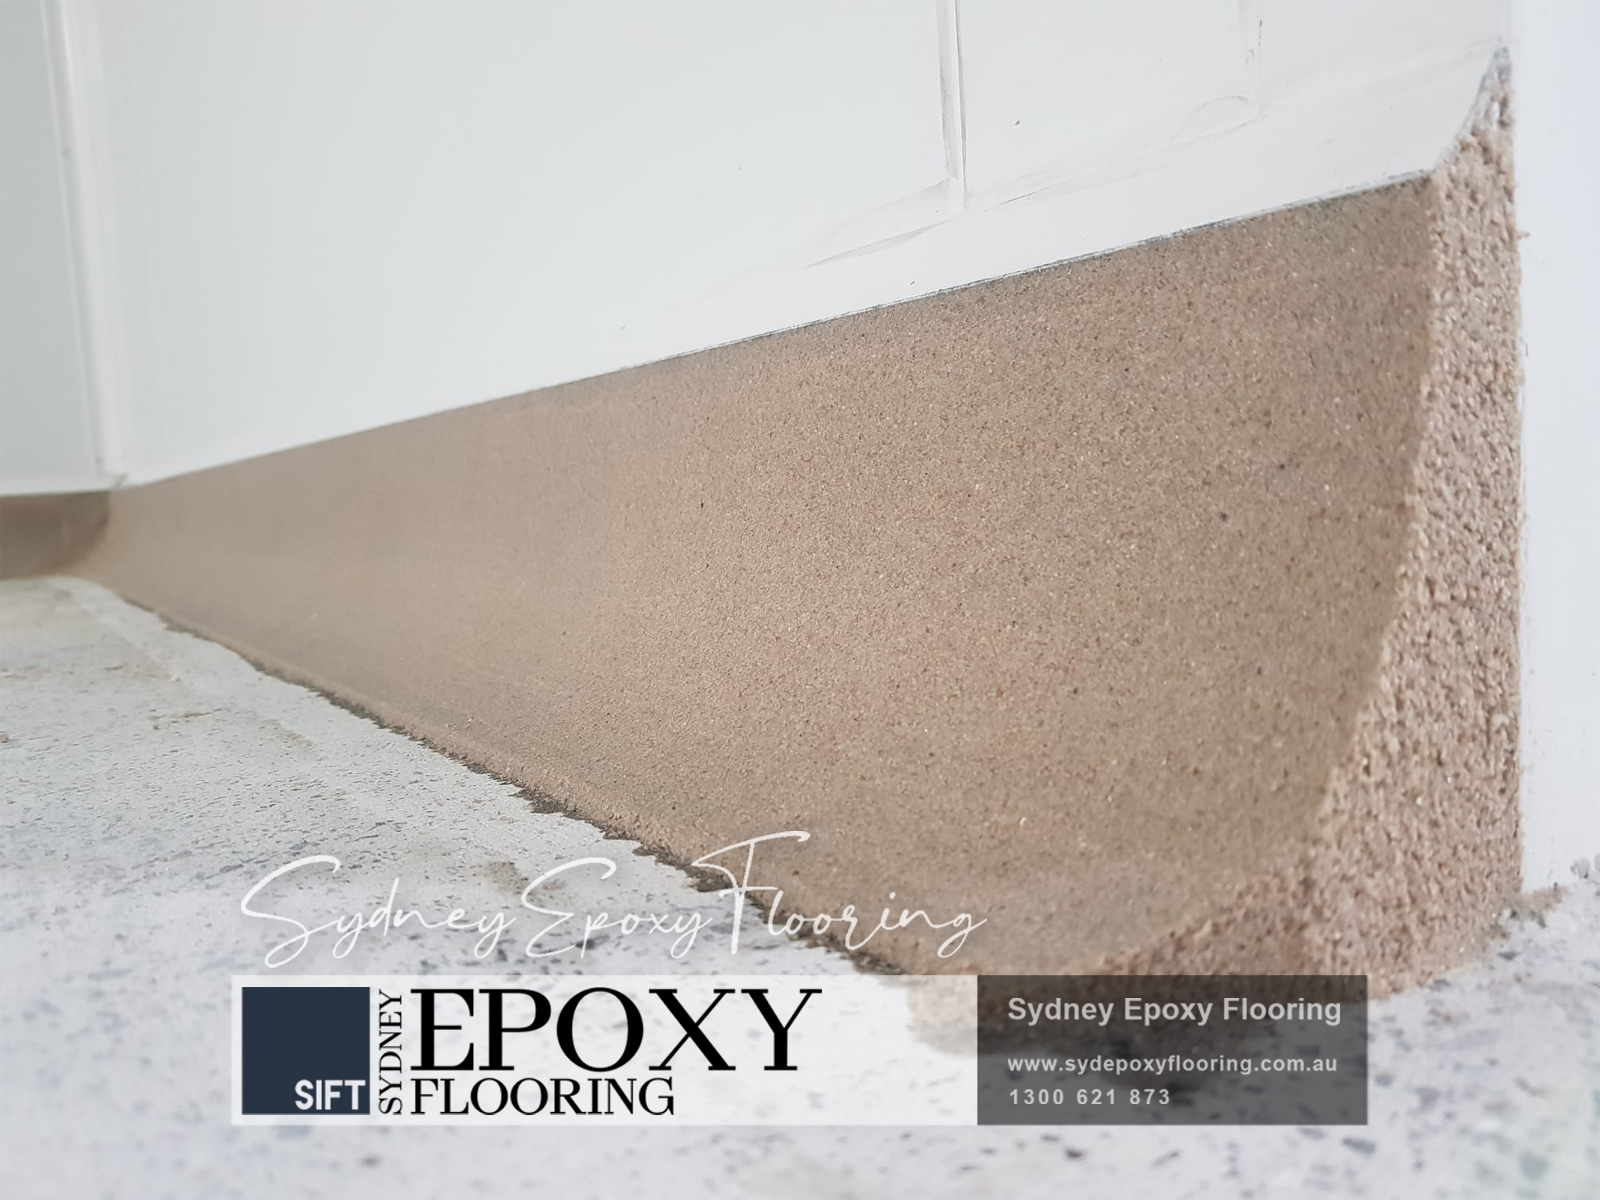
- Crack and Joint Repairs – Filling with epoxy or polyurea to strengthen the substrate.
- Priming – Applying a primer to promote strong bonding with the epoxy layer.
Missing even one of these steps can lead to coating failure in high-traffic areas.
Understanding the Importance of Professional Commercial Floor Preparation
While DIY might seem like a cost-saving option, professional floor preparation services bring:
- Experience with complex surfaces
- Access to industrial-grade equipment
- Familiarity with building codes and safety standards
- Custom solutions based on the flooring material
Professionals can identify hidden substrate problems like moisture migration or structural cracks, preventing costly delays and rework.
Why Proper Floor Preparation Is Critical for Business Spaces
In commercial settings, floors endure high foot traffic, heavy loads, and constant wear. Proper floor prep:
- Extends flooring lifespan
- Prevents accidents and slips
- Enhances the appearance of business premises
- Reduces downtime from repairs
- Protects your investment
Whether you’re preparing a showroom, warehouse, restaurant, or medical facility, neglecting the prep stage can compromise the entire flooring system.
Common Challenges in Commercial Flooring Projects
Every project comes with unique hurdles. Here are a few common challenges:
| Challenge | Solution |
| Moisture in the slab | Use moisture barriers and test with RH meters |
| Old adhesive residue | Use chemical removal or grinding techniques |
| Uneven surfaces | Concrete leveling with self-leveling compounds |
| Tight project deadlines | Schedule accurate prep timelines in advance |
| Heavy machinery use | Reinforce substrate and ensure even surface preparation |
Anticipating and solving these issues before installation ensures long-term success.
Specialized Equipment for High-Quality Floor Preparation
Professional contractors use commercial-grade equipment to prepare floors accurately and efficiently:
- Diamond Grinders: Smooth out uneven concrete and open up the surface.
- Shot Blasters: Clean and texture surfaces for better adhesion.
- Scarifiers: Remove thick coatings or adhesives.
- Moisture Meters: Detect humidity that may cause failure.
- Vacuum Systems: Keep the job site dust-free and OSHA-compliant.
- Edge Grinders & Profiling Tools: For detailed or hard-to-reach areas.
These tools ensure consistency, safety, and durability that manual tools can’t match.
Steps in Commercial Floor Preparation
Here’s a breakdown of the typical step-by-step process used in professional floor preparation:
1. Surface Inspection
- Evaluate concrete condition, moisture levels, contaminants, and structural integrity.
2. Cleaning
- Remove dust, grease, paint, or adhesives using vacuums, scrubbers, or chemicals.
3. Repairing
- Patch holes, seal cracks, and repair damaged joints with appropriate fillers or epoxies.
4. Grinding / Leveling
- Smooth the surface using concrete grinders; correct uneven areas with leveling compounds.
5. Moisture Testing
- Conduct tests (like RH or calcium chloride) to check moisture content in concrete slabs.
6. Priming
- Apply primers or bonding agents to improve adhesion and protect from moisture.
7. Final Cleanup
- Remove debris and dust to prepare for the final floor installation.
Each of these steps must be done thoroughly to avoid installation failure and ensure long-lasting results.
Common Mistakes to Avoid
Avoid these pitfalls during commercial floor preparation:
- Skipping moisture testing
- Ignoring surface cracks or damage
- Not using the correct grinding grit
- Applying epoxy on a dirty or oily surface
- Failing to use a primer where needed
- Using outdated or worn equipment
- Not following manufacturer specifications
Even minor mistakes can result in costly flooring issues down the line.
Best Tools & Equipment Used
Some of the most effective tools used by professionals include:
| Tool | Purpose |
| Planetary Concrete Grinder | Large area surface prep |
| Shot Blaster | Texture and clean concrete |
| HEPA Vacuums | Dust control during grinding |
| Crack Chaser Saws | Clean and widen cracks for repair |
| Self-Leveling Screeds | Correct uneven floors |
| Hand Grinders | Edge work and detailed grinding |
Investing in quality equipment — or hiring a team that does — ensures a smooth and successful installation.
When Should You Hire a Professional?
Consider hiring a commercial flooring specialist if:
- You’re working with high-end materials like epoxy or polished concrete.
- The area is larger than 500 square feet.
- You see visible cracks, oil stains, or moisture spots.
- You’re unsure about moisture levels or surface condition.
- You need to meet strict deadlines or industry regulations.
Professionals not only speed up the process but also deliver long-lasting, code-compliant results.
FAQ:
1. What is commercial floor preparation?
Commercial floor preparation involves cleaning, leveling, repairing, and priming a surface to ensure proper flooring installation.
2. Why is floor preparation important?
Proper floor preparation ensures better adhesion, durability, and prevents floor failures like cracking and peeling.
3. How long does commercial floor preparation take?
The process typically takes 1 to 5 days depending on the surface condition and floor type.
4. What equipment is used for floor preparation?
Common tools include diamond grinders, shot blasters, moisture meters, and vacuum systems for efficient floor prep.
Conclusion
Commercial floor preparation isn’t just a preliminary step — it’s the backbone of your entire flooring system. From epoxy coatings to vinyl tiles, the longevity and performance of your floor start with proper surface prep. By understanding the key steps, equipment involved, and the value of professional services, you can ensure your floors stay beautiful, safe, and functional for years to come.