A tiled floor can look clean one day and become the weak point of a space the next. Grout traps dirt, cracked tiles create trip hazards, and dated colors can make an otherwise functional garage, shop, kitchen, or entry feel neglected. Epoxy over tile flooring can provide a hard-wearing, easy-to-clean replacement surface without the mess of removing every tile – but only when the existing floor is assessed and prepared correctly.
The tile itself is not automatically a problem. The real question is whether the tile installation, grout joints, slab below, and surrounding moisture conditions can support a resin coating system. A coating is only as dependable as the surface beneath it.
Can Epoxy Be Applied Over Existing Tile?
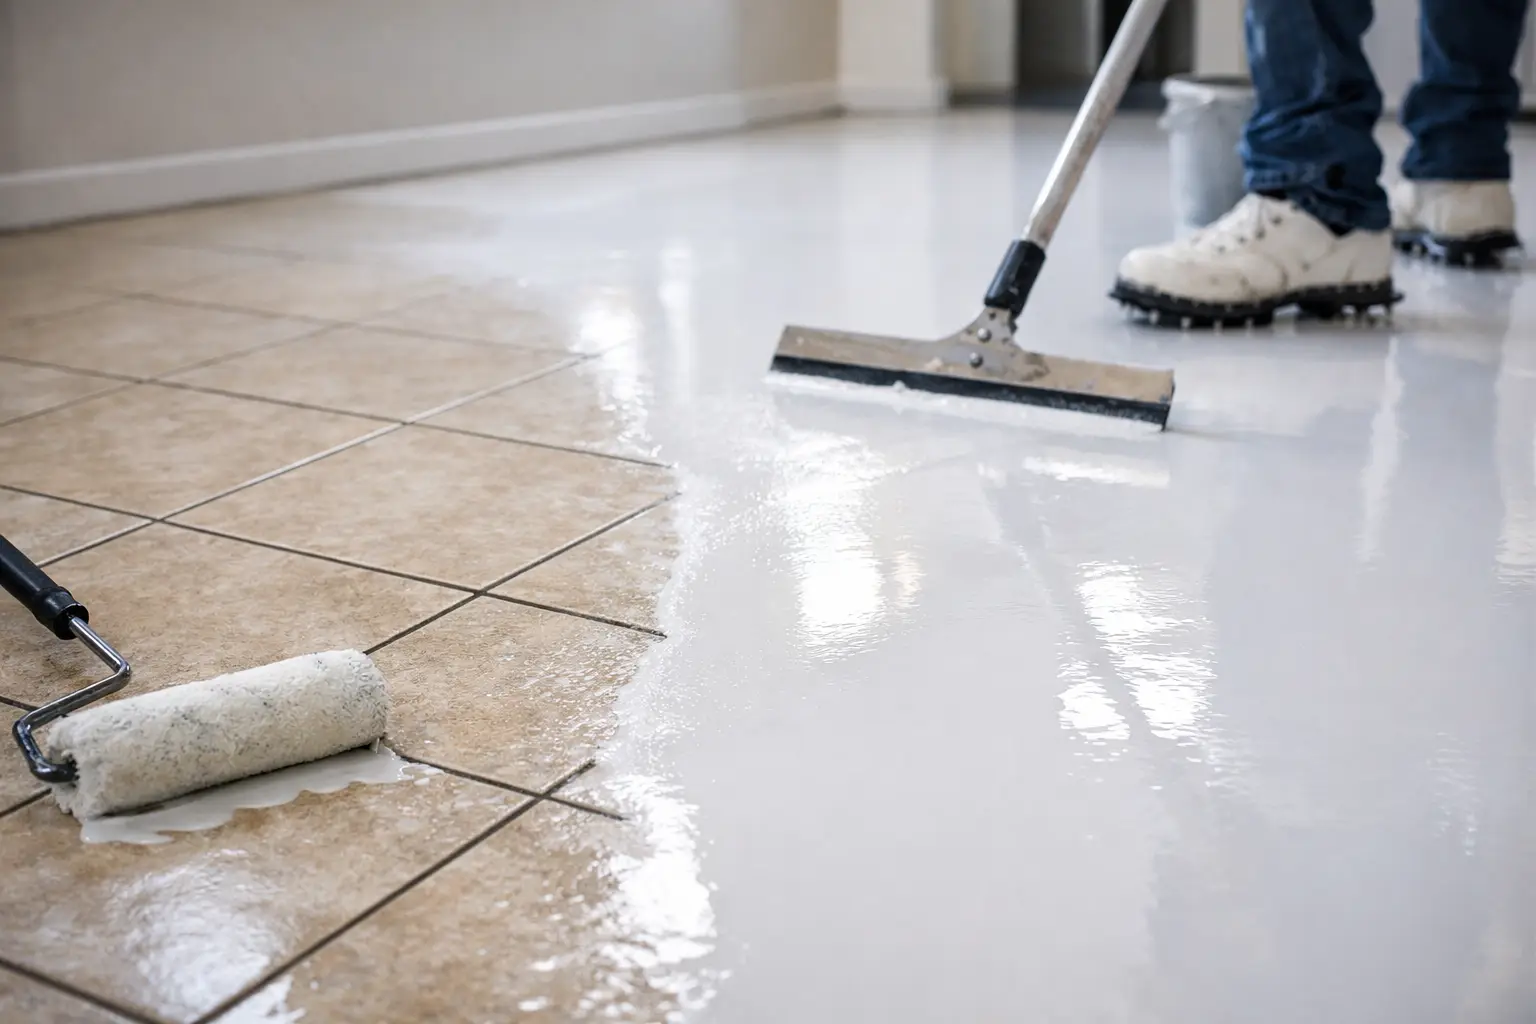
Yes, epoxy can be applied over existing ceramic or porcelain tile in many residential and commercial settings. It is often a practical option for floors that are firmly bonded, reasonably level, and free from ongoing moisture damage. The finished system can cover tile patterns and grout lines with a continuous surface that is easier to maintain and better suited to the way the area is used.
That said, applying epoxy over tile is not a shortcut project. Smooth, glazed tile has very low surface porosity, which means epoxy cannot simply be rolled over it and expected to last. Poor adhesion, telegraphed grout lines, cracking, and peeling are common outcomes when preparation is rushed or the wrong coating is selected.
A professional site inspection should determine whether coating over the tiles is sensible or whether tile removal and concrete repair will deliver the better long-term result. In a lightly used laundry or decorative residential area, the approach may differ from a commercial kitchen, vehicle workshop, or busy storeroom exposed to impact, cleaning chemicals, and rolling loads.
When Epoxy Over Tile Flooring Makes Sense
Coating over existing tile is usually worth considering when the tiles are sound, securely bonded, and the substrate is stable. It can reduce demolition waste, shorten disruption, and transform a floor without rebuilding the entire base. Decorative flake epoxy can make a garage or showroom floor more forgiving visually, while a solid-color system can suit utility rooms, retail back-of-house spaces, and clean work areas.
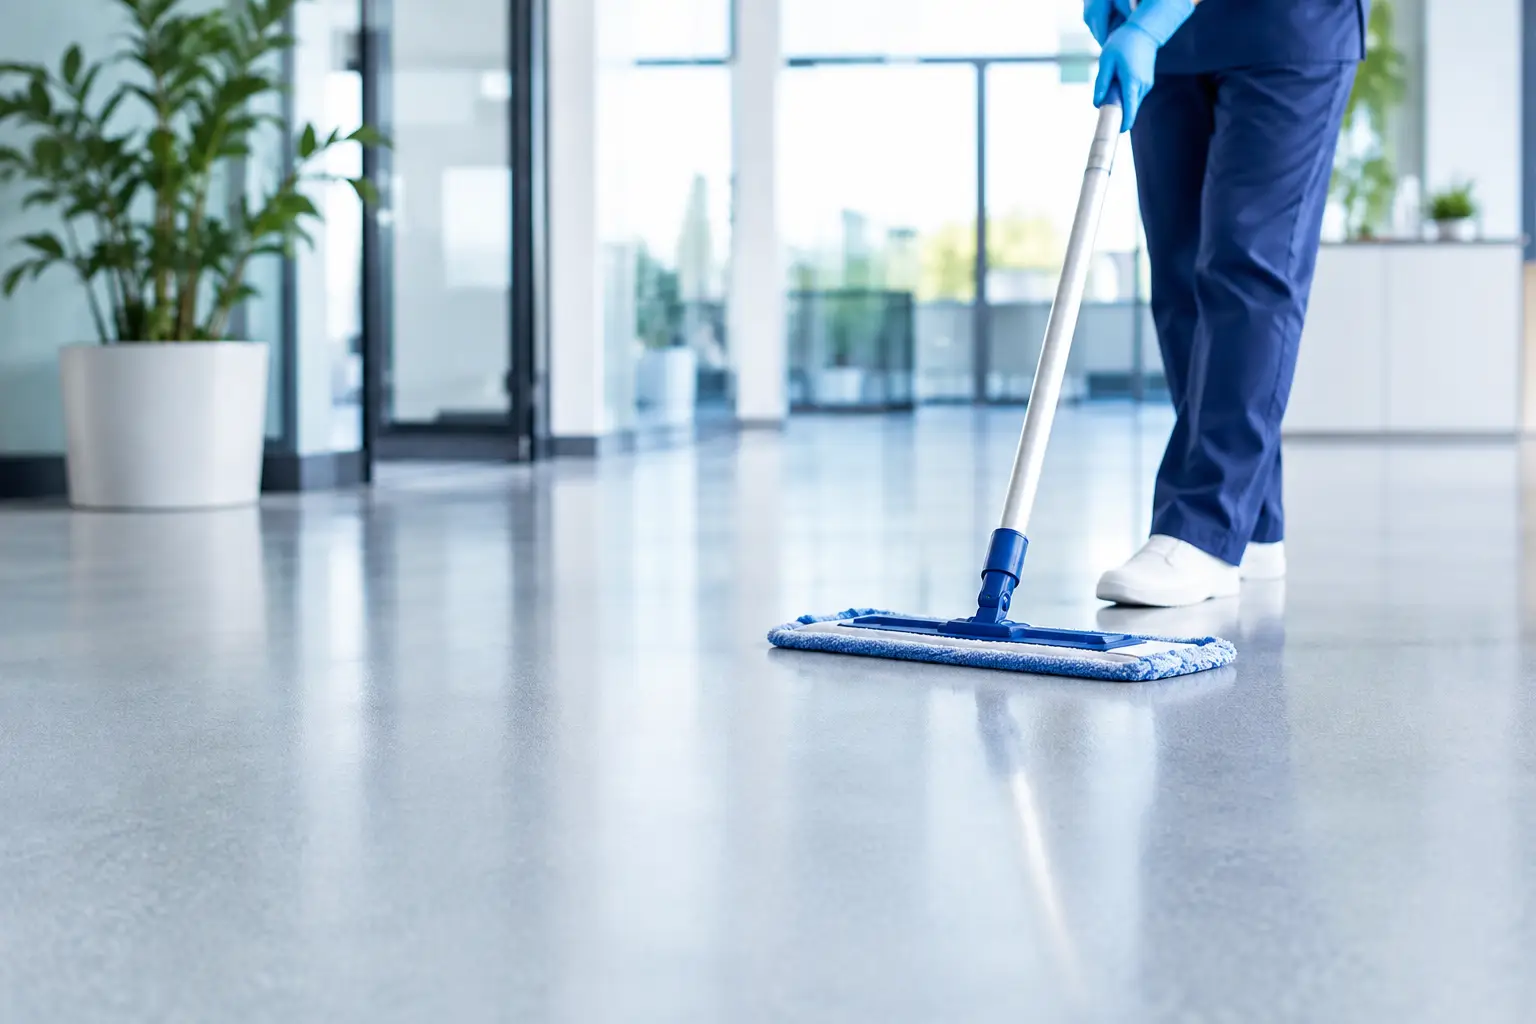
It is also useful where hygiene and maintenance matter. Grout lines are difficult to keep clean and can absorb contaminants over time. A properly installed resin floor creates a more continuous finish, reducing places for dirt, moisture, and debris to collect. For facilities that need clear traffic zones or work areas, line marking can also be incorporated into the finished floor layout.
The best candidates generally share three characteristics: the tiles are well bonded, there is no evidence of moisture pressure below the floor, and the floor can be mechanically prepared. If any one of these conditions is uncertain, further testing is required before a coating scope is finalized.
When Tile Should Be Removed First
Some tiled floors should not be coated. Loose or hollow-sounding tiles, widespread cracks, failed grout, water damage, and movement in the slab are all warning signs. Epoxy may bridge minor surface imperfections after repair, but it cannot stabilize a failing tile installation.
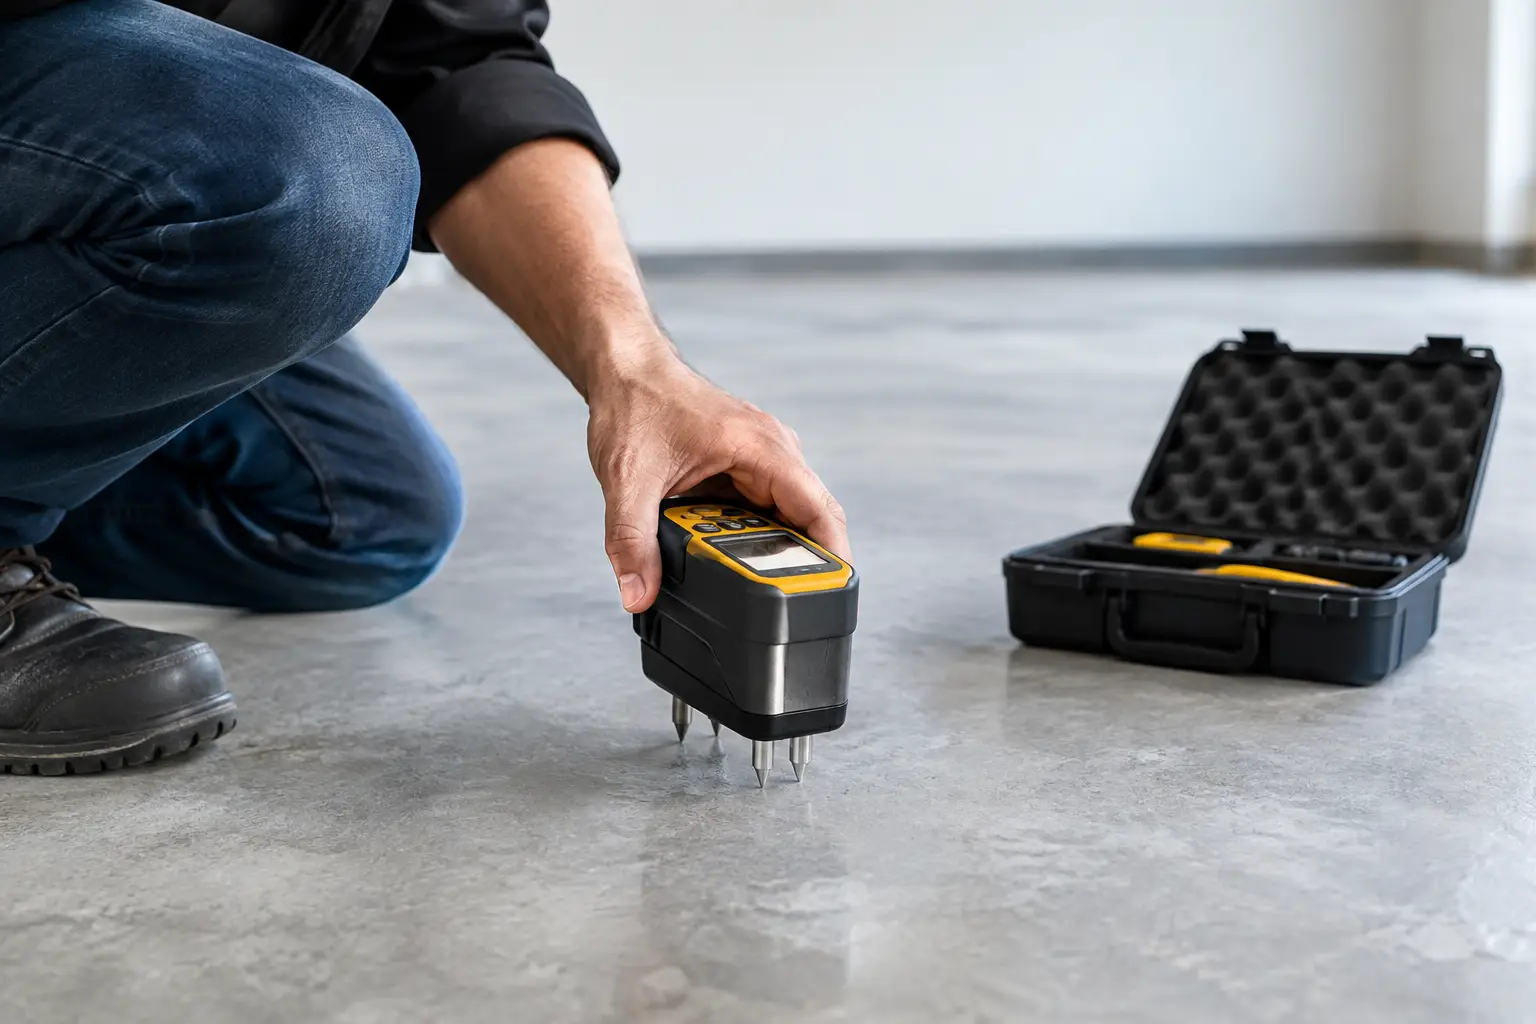
Moisture is another deciding factor. If moisture vapor is moving through a concrete slab, it can interfere with bond strength and cause coating failure over time. This risk is especially relevant in ground-level areas, older buildings, washdown zones, and spaces with drainage or waterproofing concerns. Moisture testing and an inspection of adjacent walls, drains, and joints help identify whether a moisture-mitigation system, another resin type, or tile removal is necessary.
Floor height should also be considered. Adding primer, epoxy, and a protective topcoat may affect door clearances, transitions to adjoining rooms, drains, and equipment bases. In commercial kitchens and wet areas, drainage falls cannot be compromised. Sometimes removal is the more responsible option because it allows the substrate to be rebuilt with the correct slope and waterproofing details.
Surface Preparation Determines the Result
The long-term performance of an epoxy floor over tile depends less on the final color than on what happens before the coating is applied. Professional preparation begins with a floor audit: identifying tile type, checking for movement and contamination, reviewing traffic loads, and confirming the desired finish, slip resistance, and downtime requirements.
Cleaning and contaminant removal
Tile floors often carry contaminants that are not obvious at first glance. Oils, waxes, silicone residues, cleaning products, grease, and previous sealers can all affect adhesion. The floor must be thoroughly cleaned and degreased using methods appropriate to the site. In food, automotive, and industrial environments, this step is particularly important because contamination can migrate from grout joints and tile edges.
Mechanical profiling
Glazed tiles need a mechanical profile so the primer can bond effectively. Diamond grinding is commonly used to abrade the tile surface, remove weak finishes, and create an even anchor profile. This is a controlled process, not aggressive demolition. The goal is to prepare the surface consistently while managing dust and protecting surrounding areas.
Acid etching is generally not a reliable substitute for mechanical preparation on tile. It does not consistently create the profile needed on dense, glazed surfaces, and it introduces cleaning and neutralization issues that can affect the next stage of work.
Repairing joints, chips, and cracks
Grout joints, chipped tile edges, and cracks are repaired with compatible materials before the main coating is installed. Depending on the required finish, joints may be filled to reduce their appearance or addressed as part of a broader leveling process. Deep joints and uneven tiles may need additional build coats to create a smoother final surface.
It is worth setting expectations here: a thin epoxy coating may still reveal the outline of tile joints in certain lighting conditions. A thicker system with appropriate patching and leveling offers a more uniform appearance, but it requires additional labor and material. The right choice depends on whether the floor is primarily functional, decorative, or both.
Choosing the Right Coating System
Not every epoxy system performs the same way. The coating specification should match the environment rather than follow a one-size-fits-all formula.
For a residential garage, decorative flake epoxy with a durable clear topcoat can improve stain resistance, traction, and appearance. In a workshop or warehouse, a heavier-build system may be better suited to impact, rolling loads, and chemical exposure. A commercial kitchen may require a more specialized solution, such as polyurethane cement in areas exposed to heat, moisture, frequent washdowns, and aggressive cleaning regimes.
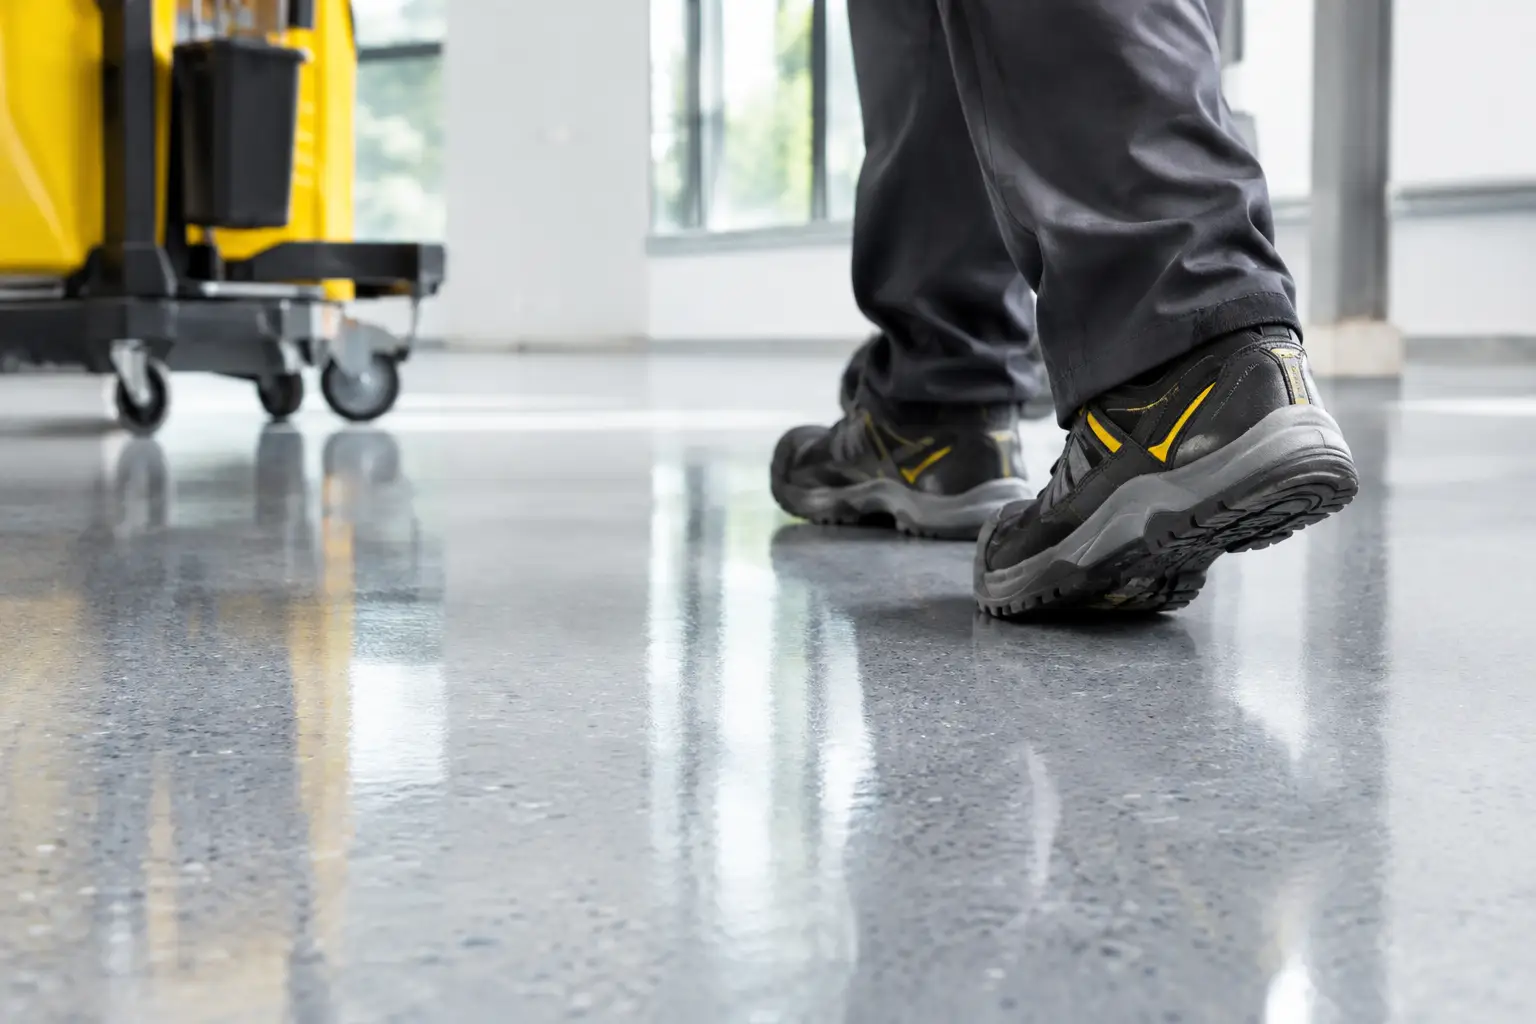
Slip resistance deserves careful attention. A gloss floor can look polished, but wet conditions may call for a broadcast aggregate or textured finish. The amount of texture should be tailored to the activity in the space. Too little can create a safety issue; too much can make cleaning harder. This is one reason the intended use of the floor should be discussed before materials are selected.
UV exposure also matters. Standard epoxy can amber or change color in direct sunlight. For sunlit entries, outdoor-adjacent spaces, or areas with large windows, a UV-stable topcoat may be specified to better preserve the chosen finish.
What the Installation Process Looks Like
A disciplined installation process keeps decisions clear and reduces avoidable disruption. After inspection and proposal approval, the work area is scheduled around access needs, operating hours, curing time, and ventilation requirements. Furniture, equipment, or stock may need to be moved, and adjacent surfaces should be protected before grinding begins.
Once the tile is cleaned, mechanically prepared, and repaired, a suitable primer is applied. The epoxy build coat follows, often with decorative flakes, aggregate, or additional materials depending on the system. A final topcoat provides the desired wear resistance, chemical resistance, and finish level.
Curing is not optional downtime. The floor may feel dry before it has developed full service strength. Walking, light use, vehicle traffic, and chemical exposure each have different return-to-service times. A professional installer will provide clear guidance so the floor is not put under load too soon.
Maintenance After Installation
An epoxy-coated tile floor is low maintenance, not no maintenance. Regular sweeping removes abrasive grit that can dull the finish. Prompt cleanup of oils, chemicals, and spills helps preserve the topcoat, while neutral cleaners are generally preferable to harsh products that leave residue.
Avoid dragging sharp metal objects or heavy equipment directly across the surface. In commercial settings, entrance mats and planned cleaning routines can significantly extend the appearance and service life of the coating. If the floor develops damage in one area, localized repair may be possible before a small issue becomes a larger one.
For property owners weighing epoxy over tile flooring, the most useful next step is not choosing a color. It is arranging a thorough assessment of the tile, substrate, moisture conditions, and daily demands of the space. A well-prepared floor gives the coating something solid to perform on – and that is where a durable result begins.