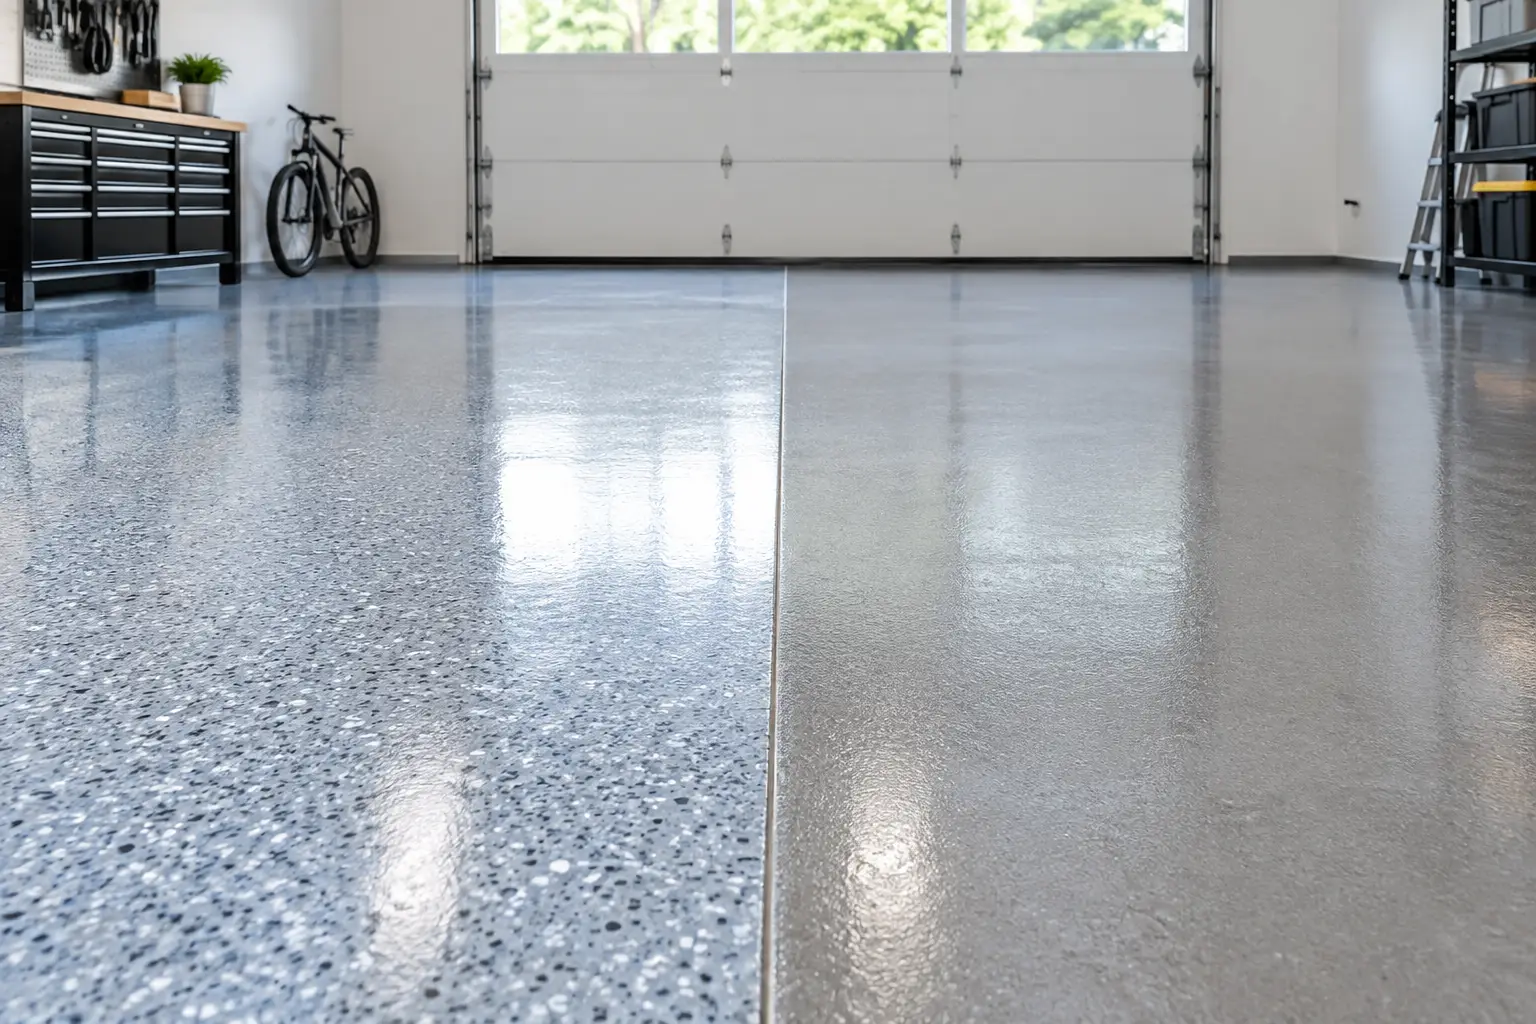
A concrete slab can look dry, feel hard, and still hold enough moisture to compromise a resin floor. That is why knowing how to assess concrete moisture is not a minor pre-installation task. It is a key part of deciding whether an epoxy, polyurethane cement, MMA, or decorative coating system will bond and perform as intended.
Moisture-related coating failures rarely announce themselves on day one. They often show up later as bubbles, whitening, soft spots, delamination, or peeling under vehicle traffic and cleaning chemicals. A proper moisture assessment gives the installer a clear starting point: proceed, allow more drying time, specify a moisture-control primer, or select a system better suited to the slab and environment.
Why Concrete Moisture Matters Before Coating
Concrete is porous. Water vapor within the slab can move upward long after the concrete has cured, particularly where there is no effective vapor barrier beneath the slab, where ground conditions are damp, or where the building is not fully climate-controlled.
When a low-permeability epoxy coating is applied over excessive moisture, vapor pressure may build beneath the finish. The result can be loss of adhesion, blistering, pinholes, discoloration, and premature failure. In a warehouse, workshop, commercial kitchen, garage, or plant room, that failure can interrupt operations and create an avoidable repair cost.
Moisture is not the only cause of adhesion problems. Surface contaminants, weak concrete, laitance, oil, curing compounds, and inadequate profile can all affect the result. However, moisture must be assessed alongside those factors during a floor audit because it can change the coating system, preparation method, and project schedule.
How to Assess Concrete Moisture Reliably
A reliable assessment starts with site conditions and ends with test results that match the coating manufacturer’s specification. No single quick check is suitable for every project. The right method depends on slab age, thickness, whether the concrete is on grade or elevated, the building conditions, and the resin system being installed.
Start With a Visual and Site Inspection
Before testing, inspect the slab for visible warning signs. Dark patches, efflorescence, previous coating failure, damp wall junctions, cracking, and areas near doors, drains, or external ground levels all deserve attention. Ask whether the slab has a vapor retarder beneath it, whether there have been leaks or flooding, and whether moisture-sensitive flooring has failed in the past.
The surrounding environment matters too. A slab may read differently after rain, after washdown, or when air conditioning has been switched off for an extended period. For an operating commercial kitchen or workshop, testing should reflect realistic service conditions rather than an unusually dry day.
Surface preparation should take place before formal testing where the test standard requires it. Coatings, sealers, adhesives, curing compounds, and contaminants can distort the reading and conceal the actual condition of the concrete. Mechanical grinding also reveals weak surface zones that may need repair before any resin system is applied.
Use an In-Situ Relative Humidity Test
For many resin flooring projects, in-situ relative humidity testing is the preferred method for understanding moisture deeper within the slab. The process involves drilling test holes to the required depth, placing probes in the concrete, allowing the test environment to stabilize, and recording the internal relative humidity.
In the United States, this method is commonly performed in accordance with ASTM F2170. The test provides a more meaningful picture than a surface-only reading because coatings are affected by moisture moving through the body of the slab, not just the top layer at the time of inspection.
The acceptable relative humidity limit is not universal. Some epoxy systems may tolerate a higher reading than others, while moisture-mitigation primers and polyurethane cement systems have their own requirements. Always check the specified product data rather than working from a generic percentage. A reading that is acceptable for one primer may be unsuitable for a decorative metallic epoxy or a thin, high-gloss finish.
Consider Calcium Chloride Testing Where Appropriate
A calcium chloride test measures the moisture vapor emission rate from the concrete surface. Often referenced under ASTM F1869, it can be useful for assessing vapor transmission at the slab surface and is still specified for certain flooring systems.
The test involves placing a pre-weighed calcium chloride dish beneath a sealed cover for a set period, then calculating the moisture emitted over that area. It is not a substitute for in-situ relative humidity testing in every circumstance, because it only captures conditions near the surface during the test period. Still, it can provide valuable supporting information when a coating manufacturer calls for it or when comparing areas of a large floor.
For demanding industrial floors, the strongest approach may be to combine inspection findings with relative humidity testing and, where needed, calcium chloride results. That gives the project team a clearer basis for selecting the coating build-up rather than relying on assumptions.
Treat Handheld Moisture Meters as Screening Tools
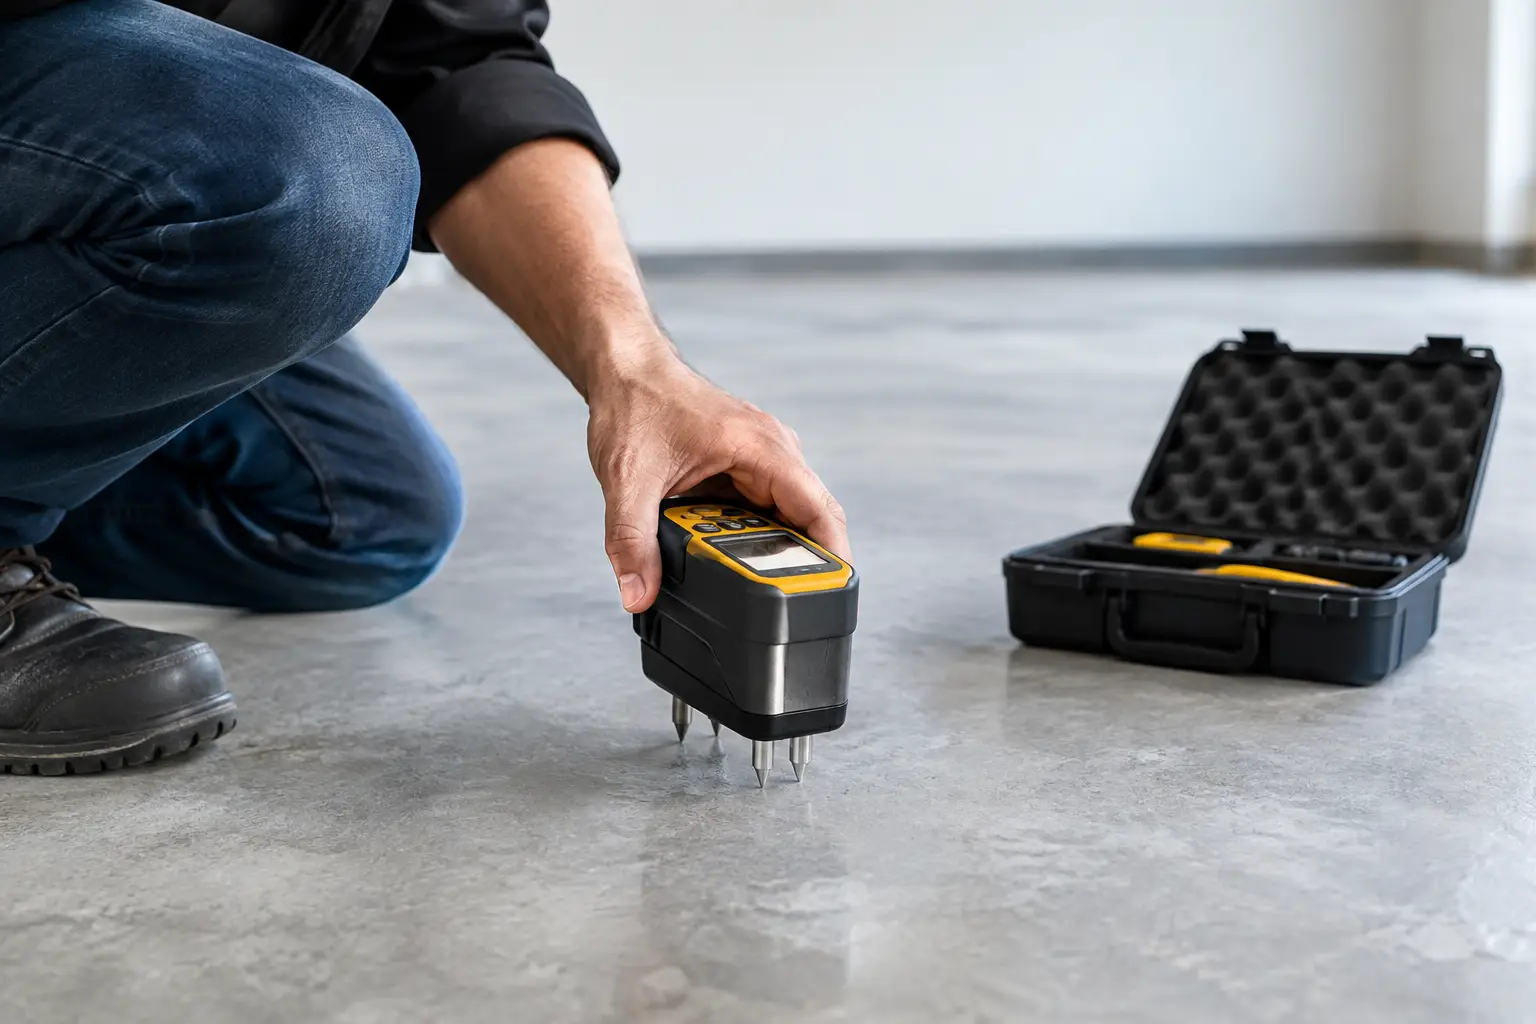
Handheld concrete moisture meters are useful for quickly identifying areas that may need closer investigation. They can help locate damp zones around perimeter walls, plumbing penetrations, roller doors, drains, and known repair areas. They are also helpful for mapping variations across a large warehouse or garage slab.
However, meter readings should not normally be treated as final acceptance data for a resin floor. Results can be influenced by concrete density, reinforcing steel, aggregate type, surface condition, and the meter’s calibration. Use them to guide formal testing, not to replace it.
Do Not Rely on Plastic-Sheet Tests Alone
Taping a plastic sheet to concrete and checking for condensation is a simple site observation, but it is not a dependable pass-or-fail test for epoxy installation. It may reveal obvious moisture issues, yet it cannot measure internal humidity or vapor emission with the accuracy required for a long-lasting flooring decision.
The same applies to judging the slab by touch or appearance. Concrete can be dry at the surface while moisture remains active below. For a coating expected to carry forklifts, vehicles, chemicals, thermal cycling, or regular washdown, informal checks are not enough.
Interpreting Results for the Coating System
A moisture test result only becomes useful when it is considered with the full flooring scope. The question is not simply whether the slab is wet or dry. The question is whether the slab condition is compatible with the selected primer, body coat, topcoat, and expected service environment.
A decorative garage floor may require a different level of moisture control than a polyurethane cement system in a commercial kitchen. Polyurethane cement is often selected for areas exposed to heat, wet cleaning, impact, and chemical spillages, but the substrate still needs proper evaluation and preparation. Likewise, a fast-curing MMA floor may reduce downtime, but rapid installation does not eliminate the need to resolve moisture risk first.
If readings exceed the coating manufacturer’s limits, there are several possible responses. The slab may need additional drying time if the source is temporary and the construction program allows it. If moisture is persistent, a compatible moisture-mitigation epoxy primer may be specified after appropriate mechanical preparation. In some cases, water intrusion, drainage defects, or hydrostatic pressure must be addressed before any coating is installed.
Do not assume that applying a thicker epoxy layer will solve a moisture issue. Thickness alone does not create a reliable vapor barrier, and an incompatible build-up can worsen bond failure. The proposed system should be designed around verified test results, manufacturer requirements, and the floor’s use.
Build Moisture Assessment Into the Project Plan
Concrete moisture testing should happen early enough to protect the project schedule. If it is left until the day before installation, an unexpected reading can delay handover, disrupt trades, or force a rushed material decision. This is especially relevant for active facilities where downtime must be carefully planned.
A disciplined process includes inspecting the slab, preparing test locations correctly, documenting readings, reviewing the coating manufacturer’s limits, and agreeing on any remedial work before installation begins. Testing should also be representative. Large or irregular slabs may need multiple locations, particularly where construction stages, repairs, exposure conditions, or slab thickness vary.
At Sydney Epoxy Flooring, moisture assessment is considered alongside surface profile, concrete strength, contamination, cracks, joints, drainage, and operational demands. That practical review helps match the flooring system to the site instead of forcing a standard coating onto a substrate that needs a different solution.
A good resin floor begins below the visible finish. Give the concrete enough attention at the assessment stage, and the final surface has a far better chance of staying clean, durable, safe, and firmly bonded through years of use.