A garage coating only performs as well as the concrete beneath it. When homeowners ask how to prepare garage concrete, the real question is whether the slab can accept and hold a coating for years of vehicle traffic, hot tires, spills, dropped tools, and regular cleaning. A glossy epoxy finish can look impressive on day one, but preparation determines whether it remains bonded or begins peeling at the edges.
For a garage floor, surface preparation is not a quick wash and a coat of paint. It is a disciplined process of assessing the slab, managing moisture, removing contaminants, repairing defects, mechanically profiling the surface, and cleaning it to a coating-ready standard. The right method depends on the age and condition of the concrete, as well as the resin system selected.
Start With a Concrete Condition Assessment
Before moving equipment into the garage, inspect the slab closely. Look for cracks, spalled areas, previous paint or sealer, tire marks, oil staining, moisture-related discoloration, and soft or dusty concrete. These details influence the scope of preparation and the most suitable coating system.
A new slab also needs time. Concrete continues releasing moisture as it cures, so applying a resin coating too early can trap moisture pressure below the finish. While many conventional slabs need around 28 days before coating, curing time alone does not confirm readiness. Temperature, ventilation, slab thickness, and ground conditions all affect moisture behavior.
Pay particular attention to the perimeter of the garage, expansion joints, and areas near doors. Water entering under the door or rising through the slab may call for moisture mitigation, joint treatment, or changes to drainage before a decorative epoxy system is installed. Coating over an active moisture problem does not solve it.
Test for Moisture Before Preparing Garage Concrete
Moisture is one of the most common reasons a garage coating loses adhesion. Concrete may look dry on the surface while water vapor is still moving through the slab from below. This is especially relevant for older garages with limited vapor barriers or properties exposed to changing ground conditions.
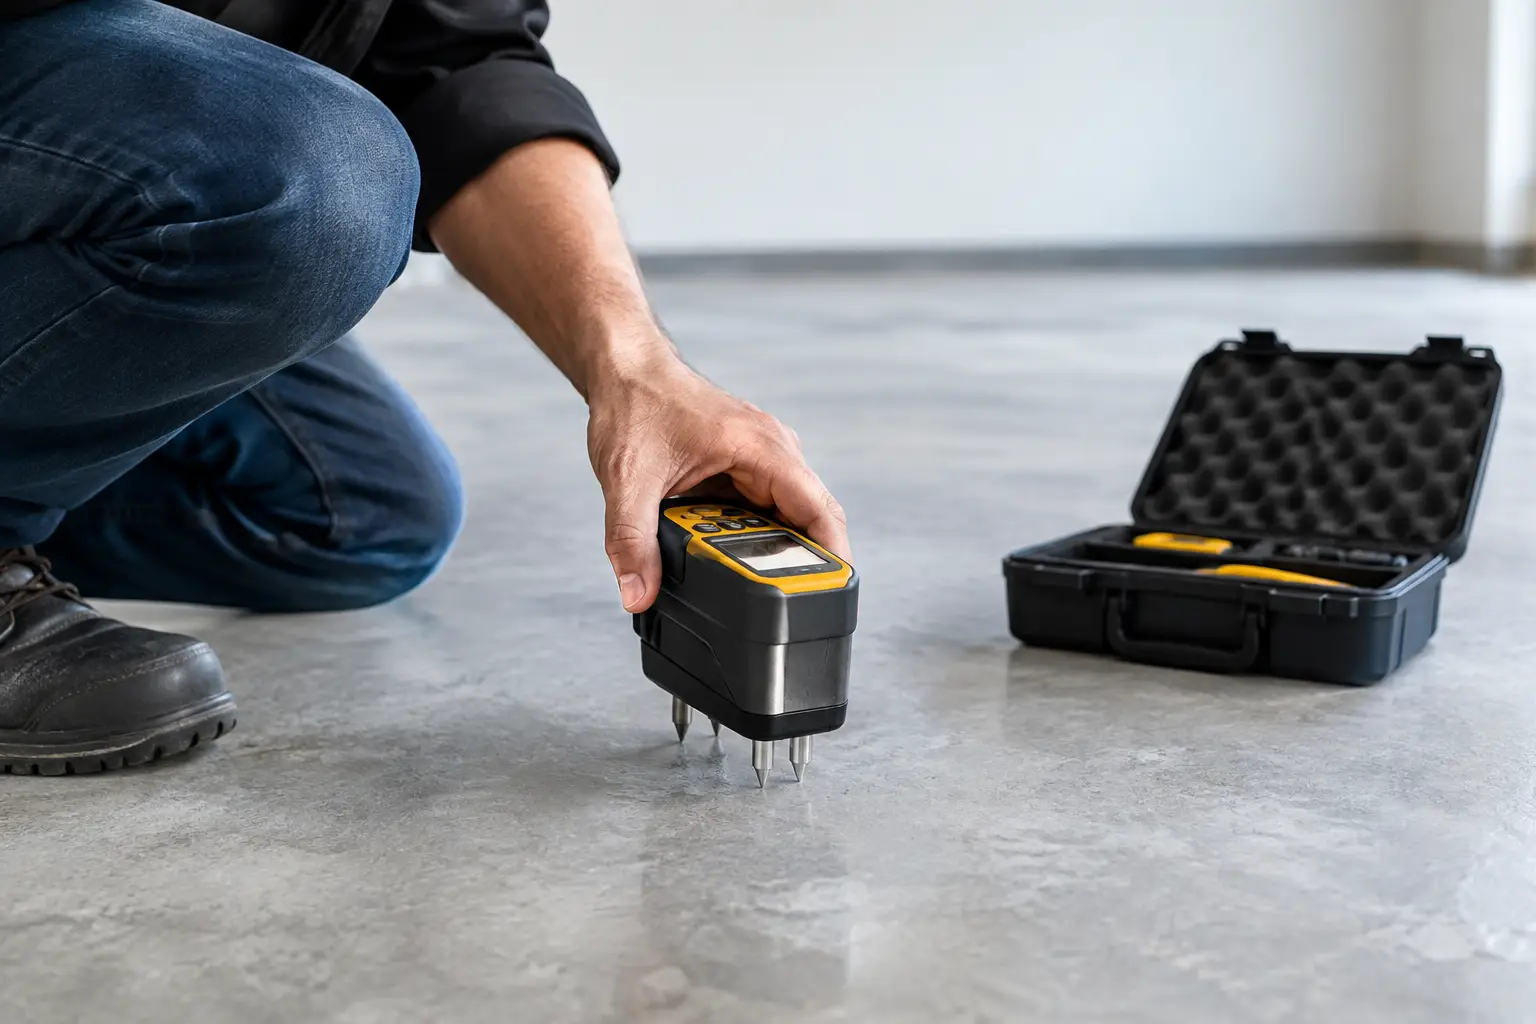
Professional floor preparation begins with appropriate moisture testing rather than assumptions. The chosen test method and acceptable result depend on the coating manufacturer’s specifications. If readings are high, a compatible moisture-control primer may be required before the main epoxy, flake, or polyurethane system is applied.
Do not rely on a plastic sheet taped to the floor as the final answer. It can indicate obvious moisture concerns, but it does not provide the reliable data needed for a high-performance resin floor. A proper assessment helps prevent costly delamination after the floor is in service.
Remove Every Barrier to Adhesion
Garage slabs collect more contamination than most residential floors. Motor oil, transmission fluid, grease, tire dressing, silicone products, wax, paint, adhesives, and old sealers can all interfere with resin adhesion. Some contaminants penetrate deeply, which means surface cleaning by itself may not be enough.
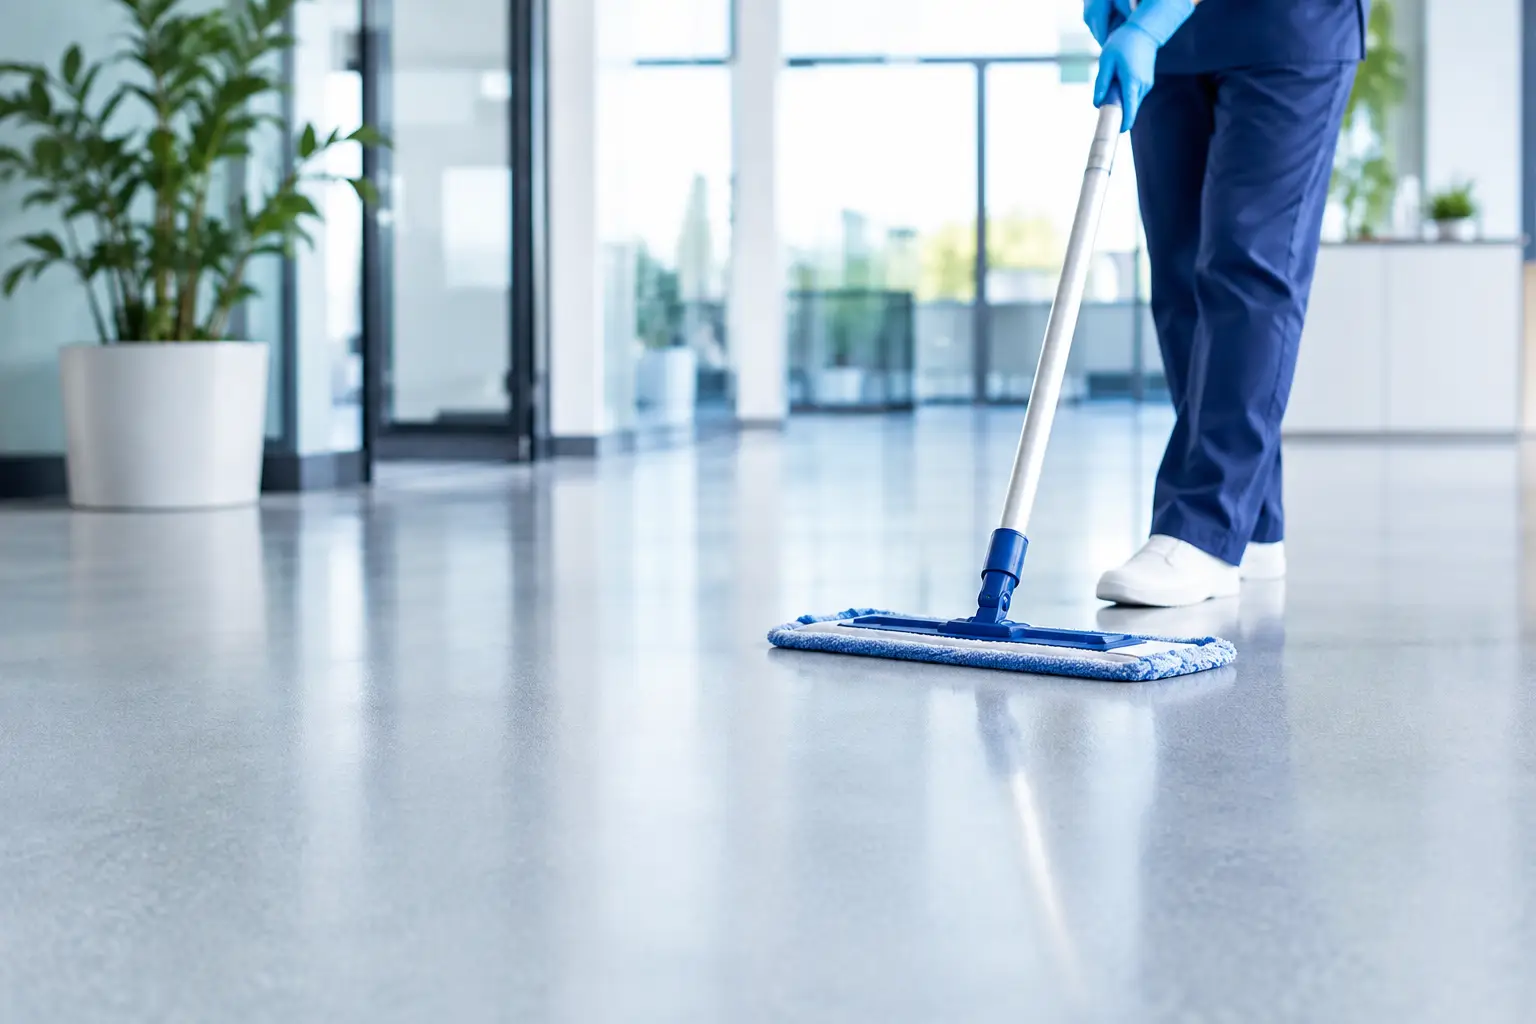
Begin by clearing the floor completely. Remove shelving where practical, sweep away loose debris, and identify stains that need targeted treatment. Degreasing is useful for lifting surface oils, but it should be followed by thorough rinsing and drying. Leaving detergent residue behind creates another bond-breaking layer.
Existing paint, curing compounds, sealers, and thin coatings must also be removed. A coating cannot reliably bond through an unknown finish simply because that finish appears intact. If the old layer fails, the new epoxy will fail with it.
Acid etching is sometimes presented as an easy preparation shortcut. In reality, it is inconsistent on dense, power-troweled, sealed, or contaminated concrete, and it can leave salts or moisture issues if not handled correctly. Mechanical preparation is generally the more controlled option for garages receiving a professional-grade coating system.
Repair Cracks and Damaged Areas Properly
Cracks need diagnosis before they need filler. Fine, stable shrinkage cracks can often be opened, cleaned, and filled with a suitable rigid or semi-rigid repair material. Wider cracks, broken edges, and spalled sections may need more extensive repairs to restore a sound, level substrate.
Not every crack should be treated as a cosmetic defect. Movement joints and active cracks can continue to move with temperature changes or slab movement. Filling them rigidly without considering that movement may result in a visible crack returning through the finished coating. In some garages, it is better to honor a joint in the final system than pretend it does not exist.
Repair materials should be compatible with the selected resin system and allowed to cure as specified. Poorly bonded patching compounds, weak cement repairs, and flexible fillers used in the wrong location can create weak points beneath an otherwise durable floor.
Create the Right Surface Profile by Grinding
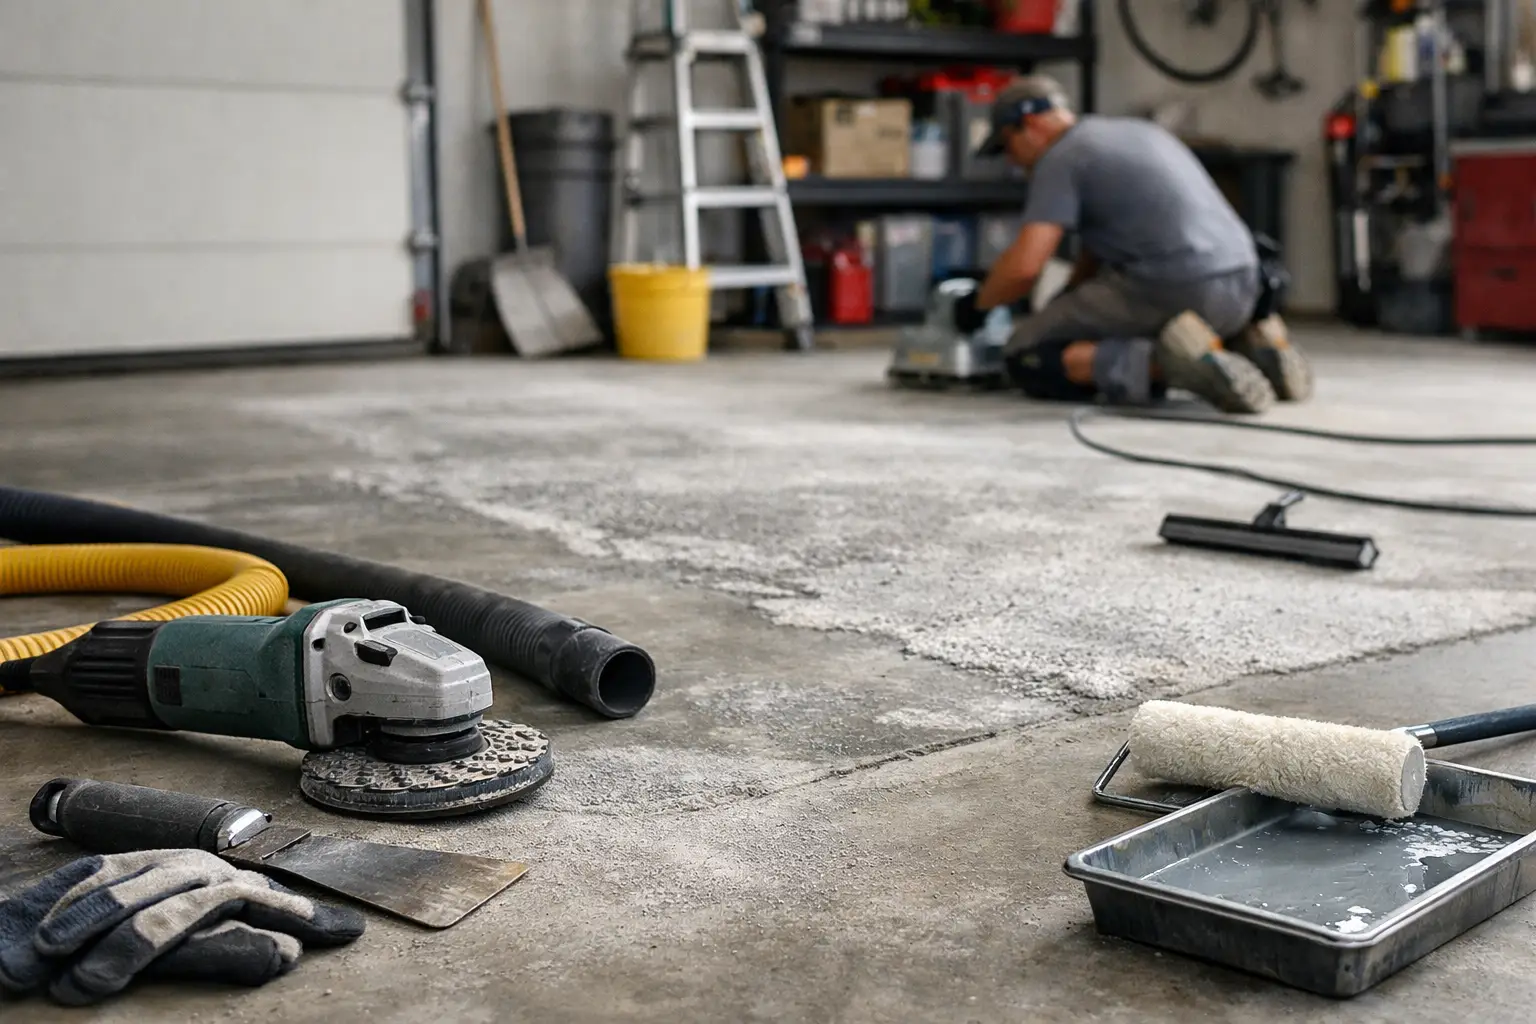
The key step in how to prepare garage concrete for epoxy is mechanical profiling. Diamond grinding removes weak surface laitance, opens the concrete pores, levels minor high spots, and creates a consistent texture for the primer or base coat to grip.
The goal is not to make the slab look rough for its own sake. The required profile depends on the coating thickness and system type. A thin epoxy coating needs a clean, evenly prepared mechanical profile, while a thicker broadcast flake system or self-leveling resin may require a more defined profile. The coating manufacturer’s technical requirements should guide the process.
Professional grinders use diamond tooling matched to the slab condition. Hard, dense concrete often requires a different approach from soft or deteriorated concrete. Areas around walls, corners, and door thresholds also need edge grinding so the entire floor has a consistent preparation standard. Skipping these areas often leads to visible coating differences and weak perimeter adhesion.
Grinding should be connected to industrial vacuum equipment designed to capture fine concrete dust. Dust control protects the work area, improves visibility during preparation, and prevents debris from settling back onto the prepared surface.
Clean Again, Then Prime at the Right Time
After grinding, the garage must be vacuumed carefully. Dust left in cracks, at wall lines, or in the pores of the concrete can compromise the bond. A final inspection should confirm that the surface is clean, dry, sound, and free from loose material before the first resin is mixed.
Timing matters at this stage. Prepared concrete should not sit exposed for days while airborne dust, moisture, or workshop contamination returns. Where possible, primer application follows preparation within the coating system’s recommended window.
Primer is not simply an optional first coat. On many garage floors, it improves penetration into the concrete, helps stabilize minor porosity variation, and creates a dependable bonding layer for the build coat. Moisture-tolerant primers, standard epoxy primers, and specialized systems each have different uses. The best choice depends on test results, concrete condition, and the desired finish.
Match the Coating System to Garage Use
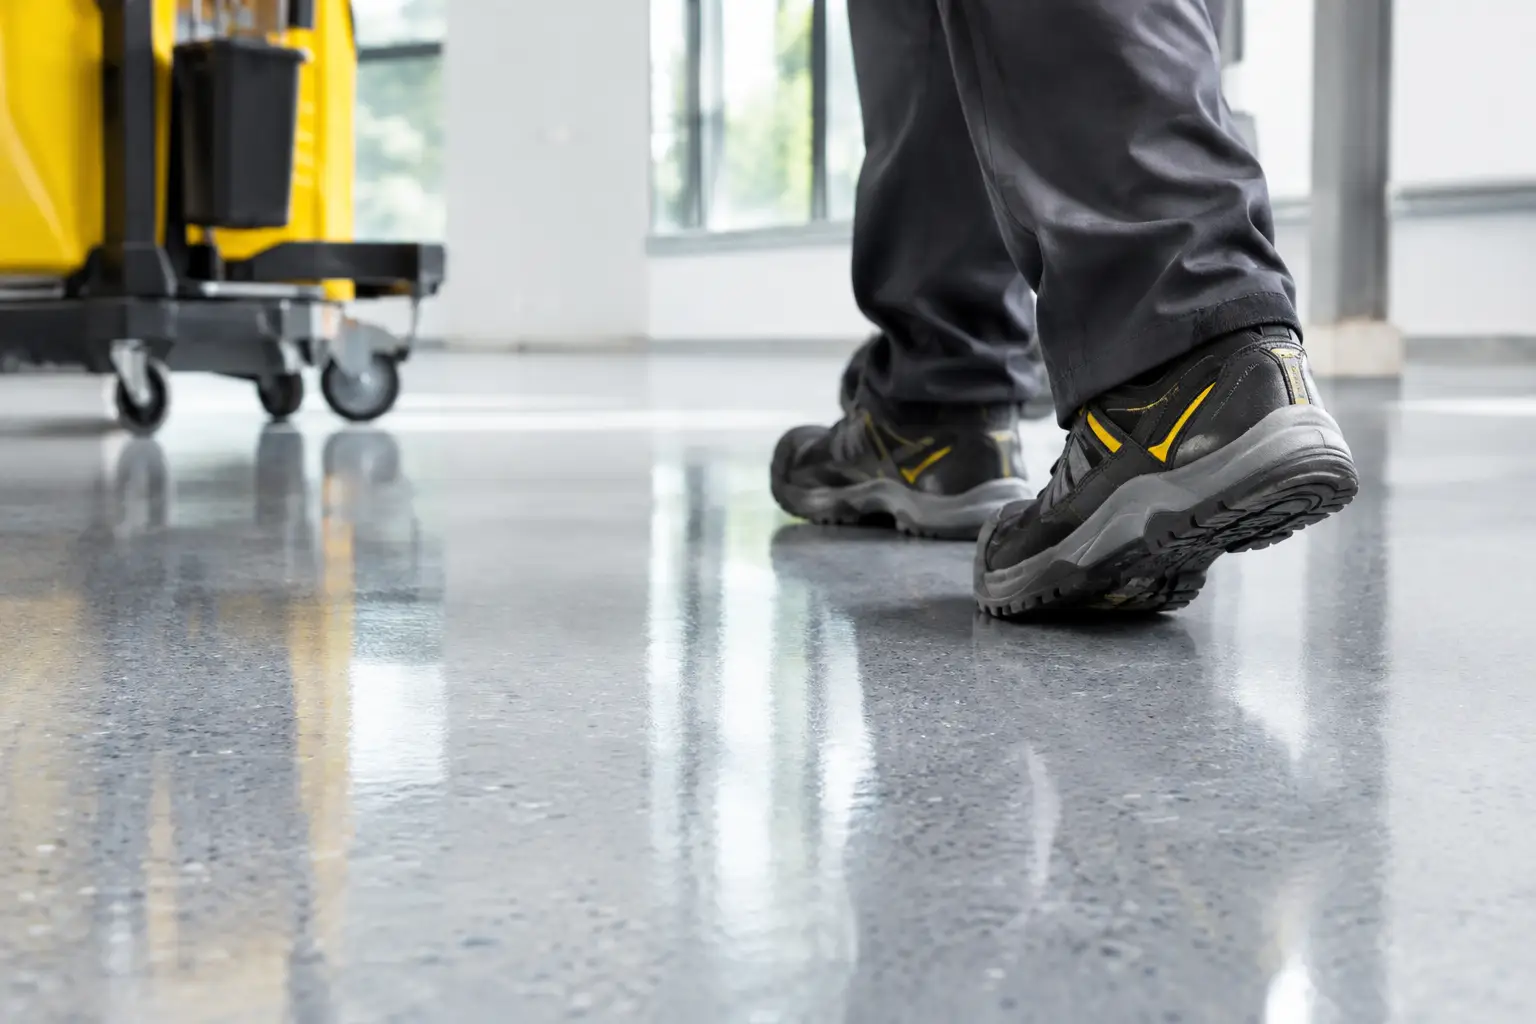
A decorative flake epoxy floor is an excellent choice for many home garages because it provides a clean appearance, hides minor dust and marks, and can include a slip-resistant texture. However, a garage used for heavy equipment, frequent chemical exposure, welding, or intense sunlight near open doors may benefit from a different resin build-up or UV-stable topcoat.
The trade-off is usually between appearance, build thickness, cure time, chemical resistance, and budget. A simple solid-color epoxy system may suit a light-use garage with a sound slab. A full-broadcast flake system provides more visual depth and practical texture. Where downtime is critical, faster-curing materials may be considered, but they demand precise application conditions and experienced handling.
Sydney Epoxy Flooring approaches garage floors as working surfaces, not just decorative upgrades. That means the preparation scope, repair method, primer, and finish are selected as one system rather than as separate decisions.
Avoid the Shortcuts That Cause Peeling
Most early coating failures can be traced to a small group of avoidable issues: coating over sealer or old paint, underestimating oil contamination, ignoring moisture, filling moving joints incorrectly, and applying resin to a dusty or poorly profiled slab. The floor may still look acceptable immediately after installation, which is why these shortcuts are so frustrating for property owners.
Preparation is also the stage where expectations should be clear. Deep stains may remain faintly visible in bare concrete after grinding, even though they no longer affect adhesion. Older slabs may retain small surface variations after repair. A high-quality resin system can make the floor cleaner, safer, and easier to maintain, but it should not be used to disguise unresolved structural or drainage problems.
A well-prepared garage slab gives the coating a stable foundation to do its job. Take the time to assess, test, repair, grind, and clean the concrete correctly, and the finished floor will be far better equipped for the demands that made you want to coat it in the first place.