A garage floor works harder than most rooms in a property. It carries vehicle weight, hot tires, dropped tools, oil drips, road grime, moisture, and constant foot traffic. A garage floor epoxy coating can turn that porous, dusty concrete into a cleaner and more durable surface, but the result depends far more on preparation and system selection than on the color chosen from a sample board.
For homeowners, workshops, vehicle storage areas, and light commercial garages, the right resin floor makes daily cleaning easier and gives the space a finished, purposeful appearance. The wrong system, or a coating applied over poorly prepared concrete, can peel, blister, or wear prematurely. A professional assessment establishes which outcome is realistic before work begins.
What a garage floor epoxy coating is designed to do
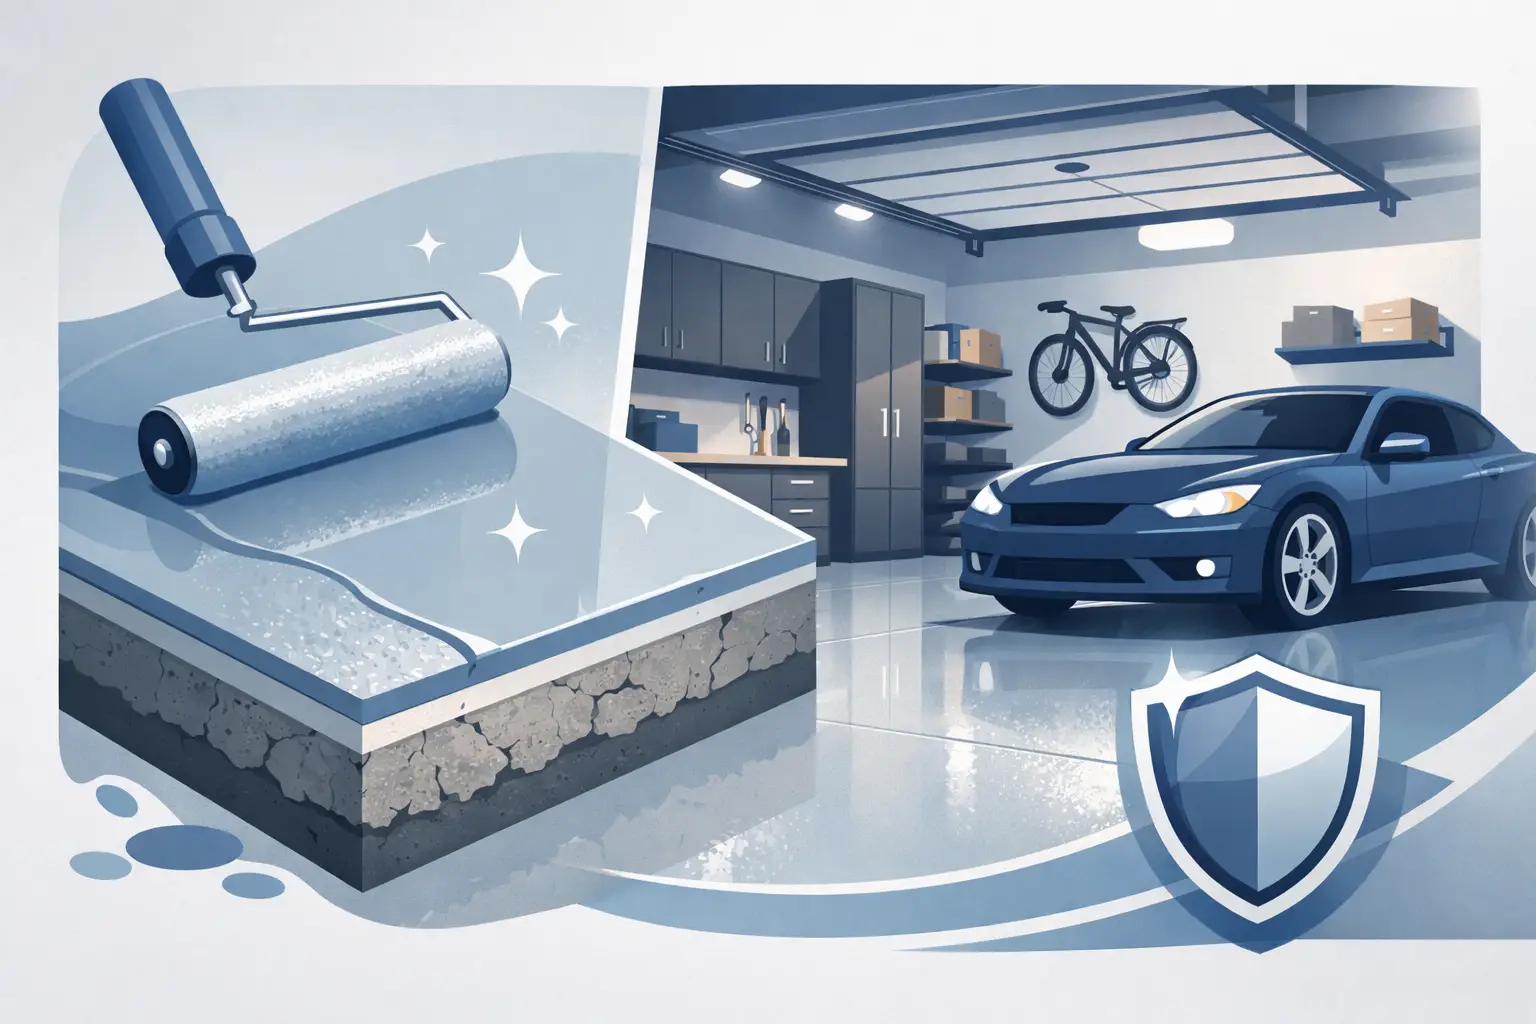
Epoxy is a two-part resin system that cures into a hard, bonded surface over prepared concrete. Unlike a standard floor paint, a properly specified epoxy coating is designed to create a protective layer that resists abrasion, many automotive fluids, stains, and regular cleaning. It also seals the open pores in concrete, helping reduce dusting and making spills easier to manage.
The practical benefits are clear. A coated garage floor is easier to sweep and mop, less likely to absorb oil or grime, and more comfortable to use as a workspace. Decorative flake systems can also conceal minor dirt and wear better than a solid color floor, while a clear protective topcoat can improve stain resistance and long-term cleanability.
That said, epoxy is not one universal product. A garage used for occasional parking has different requirements from a workshop with welding equipment, a detailing bay, or an area exposed to frequent water and chemicals. The coating thickness, primer, broadcast media, topcoat, and slip-resistance profile should follow the way the floor will actually be used.
Start with the concrete, not the coating color
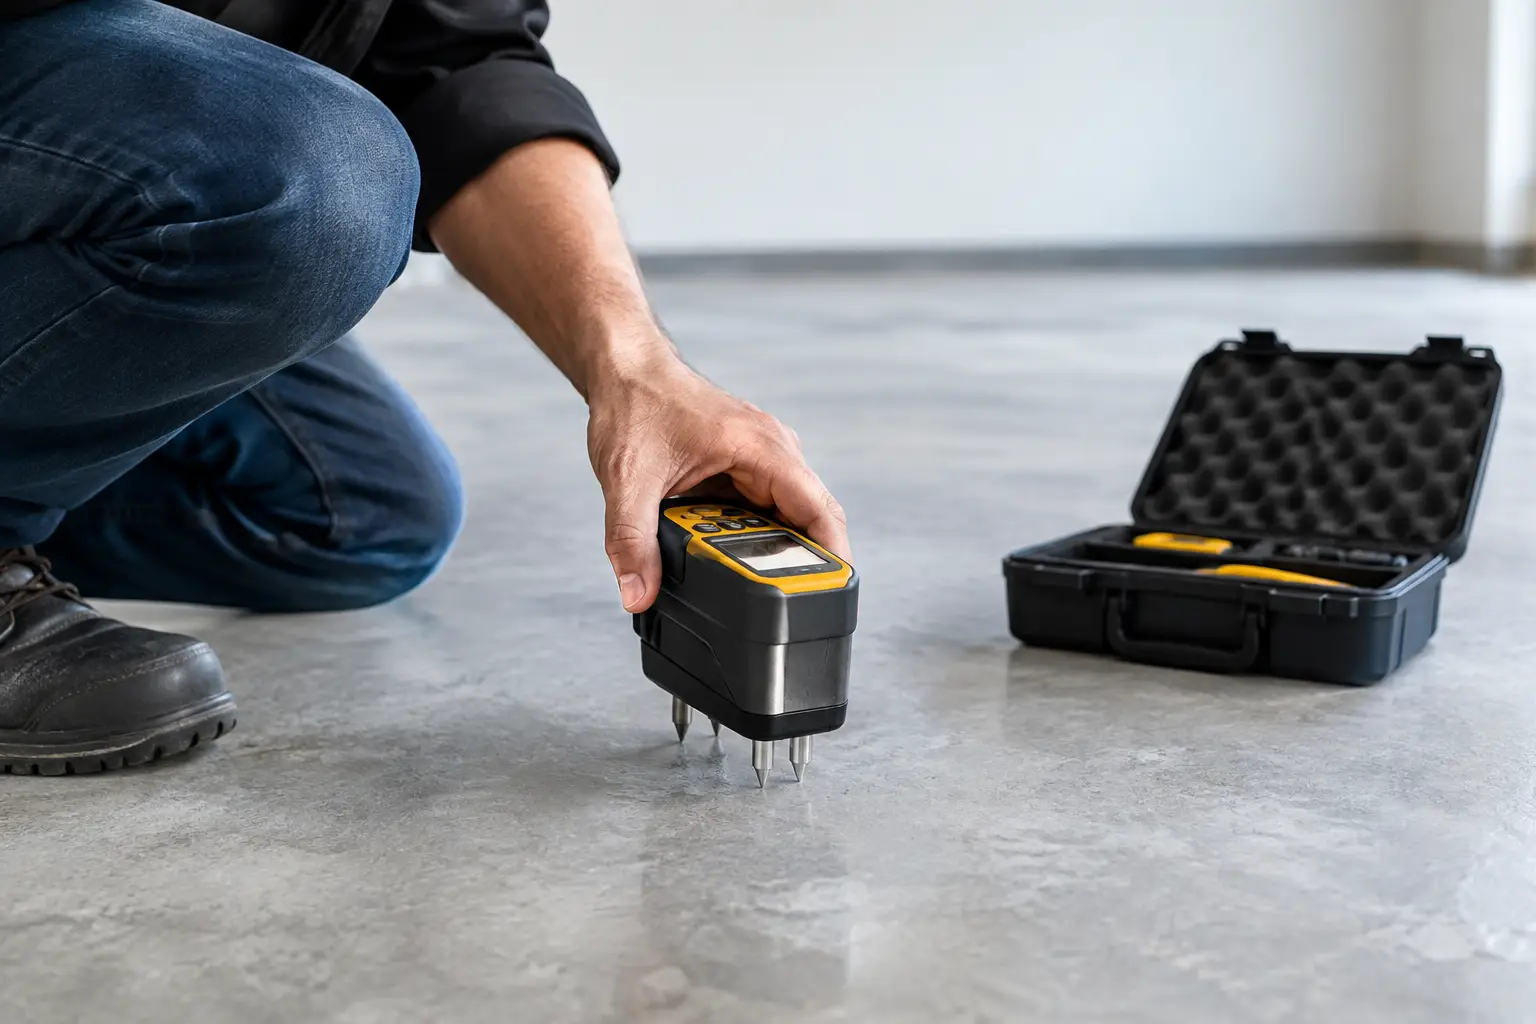
Concrete is the foundation of the entire system. If it is weak, contaminated, damp, or covered with old paint, the coating cannot form a dependable bond without corrective work. This is why a site inspection and floor audit should come before product recommendations or pricing.
A qualified installer checks for cracking, surface laitance, oil contamination, previous coatings, moisture concerns, uneven areas, and concrete strength. Hairline cracks may be repaired and blended into the system. Larger cracks, movement joints, or failed sections need a more considered approach, because coating over active movement without treatment can lead to visible cracking later.
Mechanical diamond grinding is generally the preferred preparation method for garage floors. It removes weak surface material, opens the concrete profile, and creates the texture needed for adhesion. Acid etching is not an equal substitute for every slab, particularly where contaminants, dense concrete, or existing coatings are present. Grinding also allows the installer to identify hidden defects before resin is applied.
Oil is another common issue. A dark stain is not always a cosmetic problem. If petroleum products have penetrated deeply into the slab, they can interfere with adhesion. Cleaning, degreasing, localized repairs, and a suitable primer may be necessary. A dependable contractor will explain this work rather than coating over it and hoping the issue stays hidden.
Choosing the right finish for your garage
A solid-color epoxy system provides a clean, uniform look and works well where a simple, professional finish is the priority. It can be a strong option for storage garages, residential spaces, and work areas where the floor needs to be easy to inspect and maintain. The finish can be tailored with a gloss level and slip-resistant additive suited to the environment.
Decorative flake epoxy is popular because it combines performance with visual depth. Colored flakes are broadcast into the base coat, then sealed beneath a clear topcoat. This finish helps disguise dust, light marks, and small imperfections in the concrete while giving a garage a more refined appearance. It is especially practical for multi-use residential garages that function as storage, hobby, and parking spaces.
For more demanding environments, the topcoat deserves close attention. Epoxy is highly durable, but it can yellow when exposed to sustained sunlight. If the garage receives significant UV exposure through open doors, windows, or direct daylight, a UV-stable polyurethane or polyaspartic topcoat may be a better finishing layer. These materials can also offer improved scratch resistance and faster return-to-service times, depending on the system.
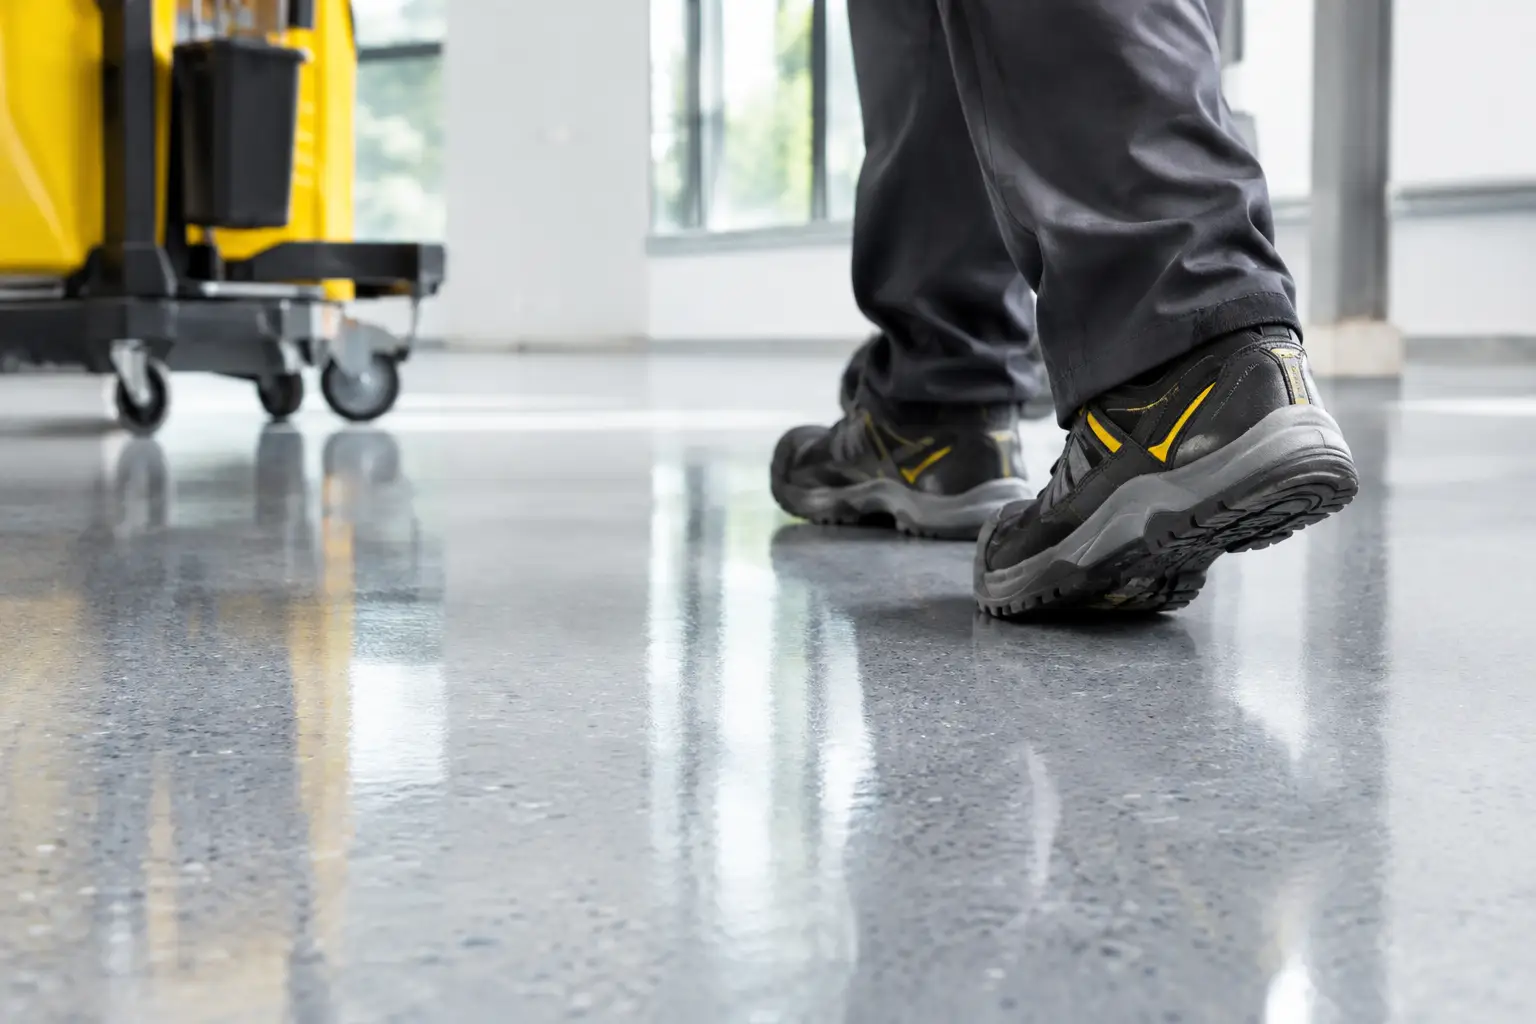
Slip resistance needs the same practical thinking. A glossy floor can be easy to clean, but a garage that regularly sees rainwater, wash-down activity, or tracked-in moisture may need a textured finish. More texture improves underfoot traction but can make cleaning slightly more involved. The best balance is one that supports safe use without creating an overly aggressive surface for the people, vehicles, and equipment using the space.
Four questions that shape the coating system
Before selecting a finish, consider these site-specific factors:
- Will the floor be used mainly for parking, or for mechanical work, storage, and regular foot traffic?
- Does the slab have moisture, cracks, oil contamination, old paint, or leveling issues?
- Will direct sunlight reach the floor for extended periods?
- Is extra slip resistance needed because of wet vehicles, wash-down work, or outdoor access?
Clear answers help prevent a common mistake: choosing a coating for its appearance alone. The most attractive floor is still a poor investment if it is not specified for the conditions beneath and above it.
A disciplined installation process protects the result
Professional garage epoxy installation is not a one-day paint job. The exact schedule depends on the floor condition, coating system, temperature, humidity, and required curing time, but the workflow should remain controlled from start to finish.
The process begins with consultation and inspection. This establishes the intended use of the garage, identifies slab issues, and defines the desired visual finish. The installer then prepares a tailored scope covering repairs, grinding, cleaning, priming, base coats, decorative media if required, topcoats, and curing expectations.
Once the surface is mechanically prepared, cracks and localized defects are repaired. The floor is vacuumed thoroughly, because loose dust can compromise adhesion. A primer may then be applied to improve bond strength and help manage the porosity of the concrete. Base coats and flakes are installed within the appropriate recoat windows, followed by scraping, vacuuming, and protective topcoats where the design calls for them.
Curing is not an optional final detail. A floor may feel dry to the touch before it is ready for vehicle traffic, heavy shelving, or chemical exposure. Respecting the stated cure time protects the coating during its most vulnerable stage. Final inspection should confirm coverage, edge detailing, texture, finish consistency, and any agreed line marking or zone definition.
Avoid the shortcuts that cause early failure
The most expensive garage floor coating is often the one that needs to be removed and replaced. Premature failure commonly begins with shortcuts that are difficult to see once the floor is finished: inadequate grinding, insufficient cleaning, moisture not addressed, rushed recoating, or a coating system too thin for the intended use.
Do-it-yourself kits can be appropriate for a small, low-demand garage with sound, clean concrete and realistic expectations. However, they typically offer less surface preparation capacity, lower build thickness, and fewer options for moisture mitigation or high-performance topcoats. Where the slab is damaged, contaminated, or subject to demanding use, professional installation provides greater control over the variables that determine service life.
Price should be considered in the context of preparation and performance, not just square footage. A transparent proposal should distinguish between the basic coating work and any necessary crack repair, moisture treatment, removal of previous coatings, or substrate correction. That makes it easier to compare scopes accurately and avoids surprises after installation begins.
Maintaining an epoxy garage floor
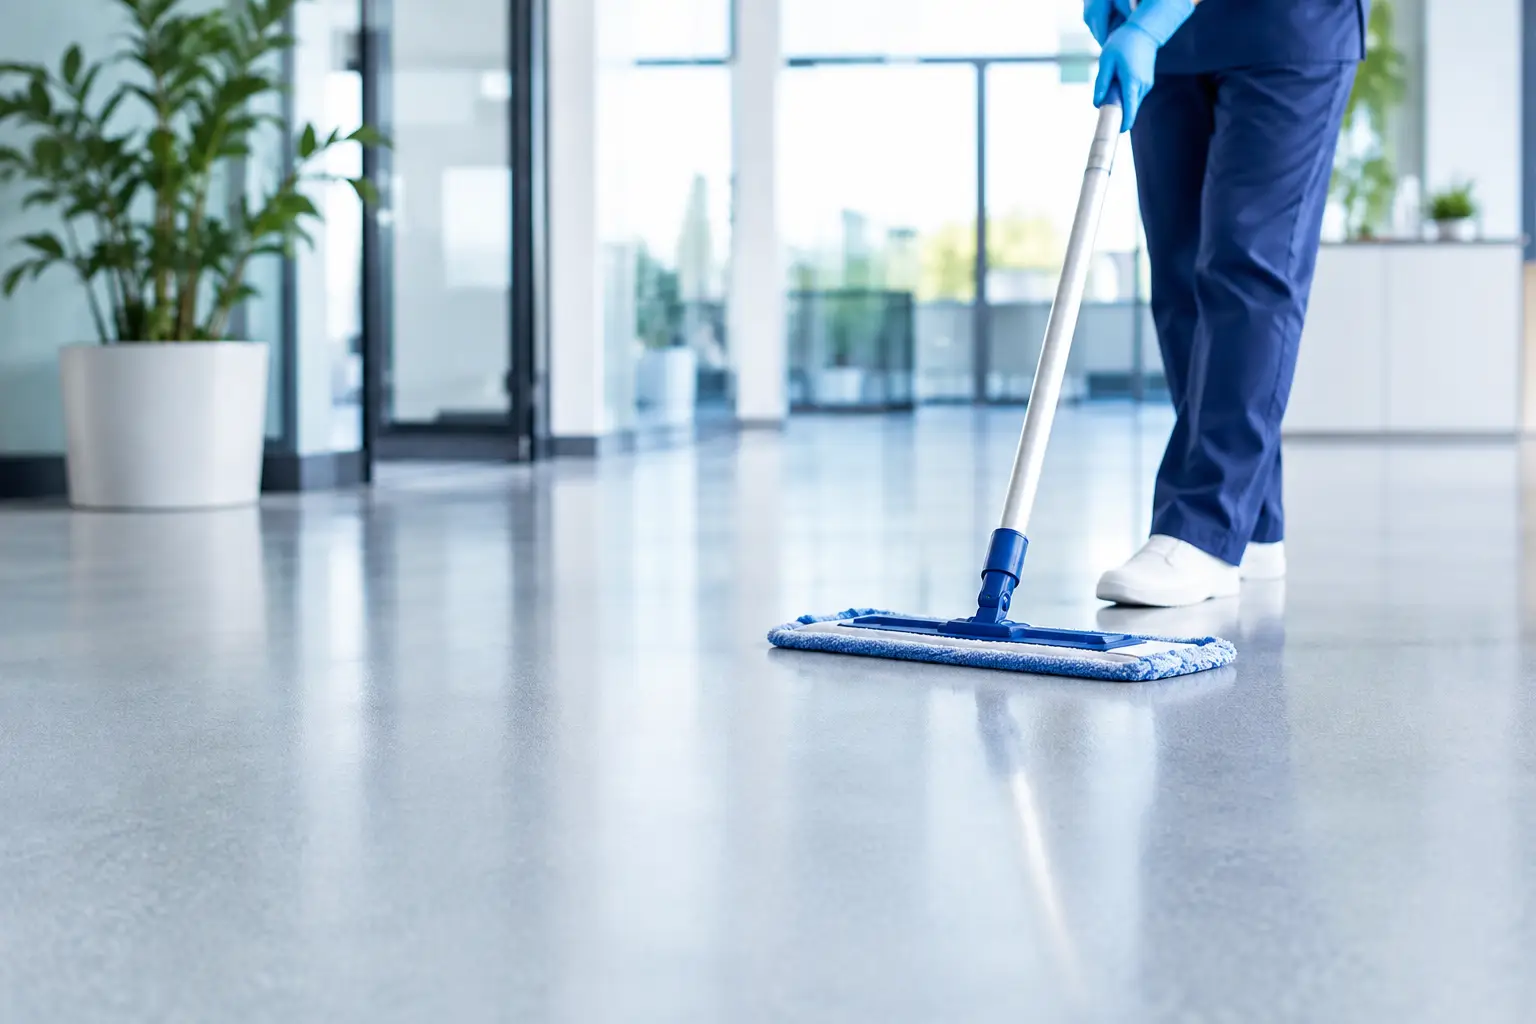
A well-installed floor does not need complicated maintenance. Sweep away abrasive grit regularly, clean spills promptly, and use a soft broom or mop with a pH-neutral cleaner when deeper cleaning is needed. Avoid harsh solvent use unless the coating system is known to tolerate it, and do not drag sharp metal objects or heavy equipment across the surface.
Place protective pads under heavy shelving, stands, and equipment that remains in one position. If the garage is used for vehicle work, wipe up fuel, brake fluid, and oils as soon as practical. Even chemical-resistant flooring performs best when spills are managed promptly rather than left to dwell.
A garage floor should support the way you use the property, not become another surface to worry about. By treating concrete condition, coating design, slip safety, and curing as one connected system, you can create a floor that remains practical, clean, and presentable long after the installation is complete.